Telephone: 408-839-5569
Email: (Click Here) Andrew@JaguarSpecialties.com
Last Update 7-2-24
|
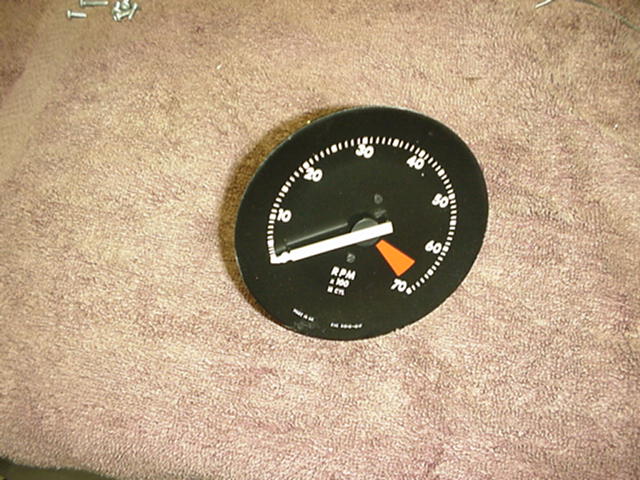
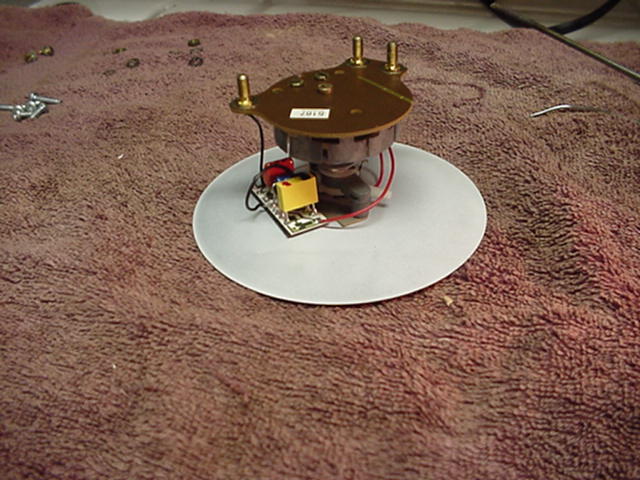
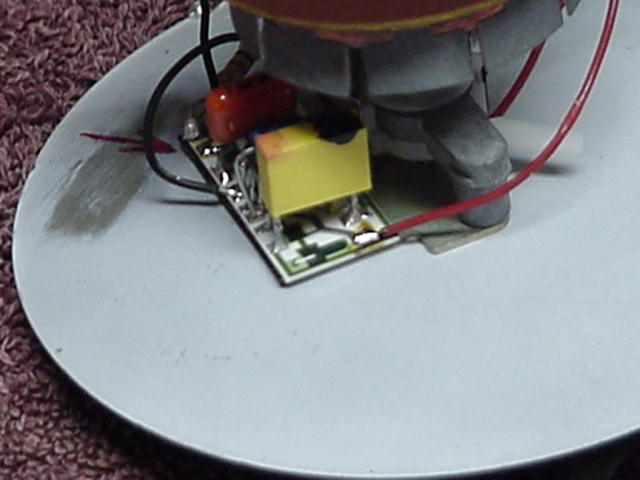
Tech Tips #3 -Recalibrating a Jaguar Tachometer for a V8 One aspect of doing a Jaguar conversion is getting all of the gauges in the car to read properly. While the water temp gauge, oil pressure gauge, and oil pressure idiot lights are fairly straightforward, recalibrating the tachometer takes a little more work However, there’s no reason it should be, as this is an easy task you can accomplish on own or just a few dollars. I’ve done it many times and had no problems. Important note- these modifications will work ONLY on the models listed below and ONLY if the tachometer signal is 8 cylinder based (as in coming from a V8 distributor or single coil on a V8 engine). For engines such as the LT1, LS1, and later models, the tachometer signal that comes from the engine computer is 4 cylinder based (the GM standard) and none of these modifications will work properly. In those cases our Tachometer Conversion Module must be used- this is an external unit that makes the desired correction for the input signal such that the tachometer remains standard and reads correctly. XJS 76-early 89 (Lucas Ignition Cars) The first step of course is to remove the instrument cluster from the dash, and then the tach from the cluster itself (consult your manual for details.) Here is a photo of what the tach looks like removed from the cluster. It needs to be free and accessible like this to make the modifications. Here are 2 shots of the tach removed, front side and back side.
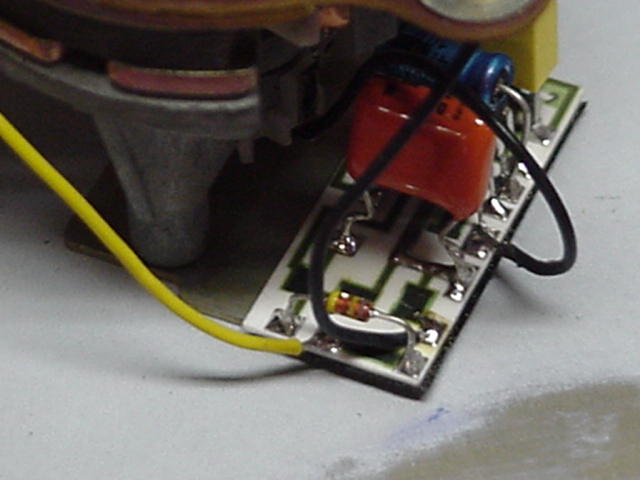
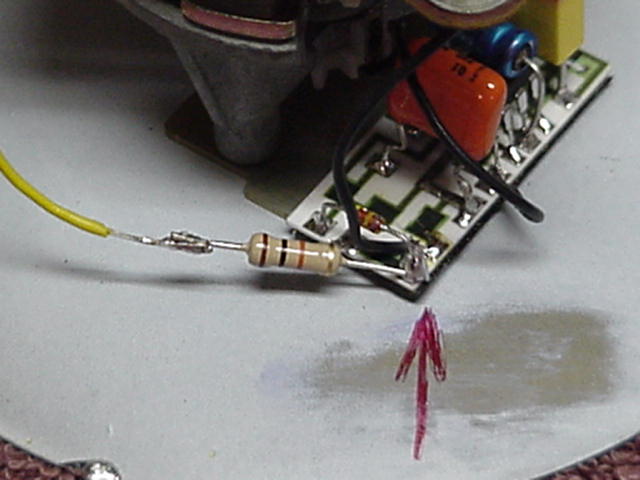
Step 1: Turn the Tach face down, and locate the yellow wire leading back from the gauge movement to the printed circuit board. Clip the wire near were it attaches to the board, and leave the other end attached to the movement. Now solder a 10k-OHM resistor between the end of the yellow wire you just clipped, and the very corner position on the PC board (nearest to where the yellow wire was originally attached, but not the same point). The photos below show the tach before modification, and after.
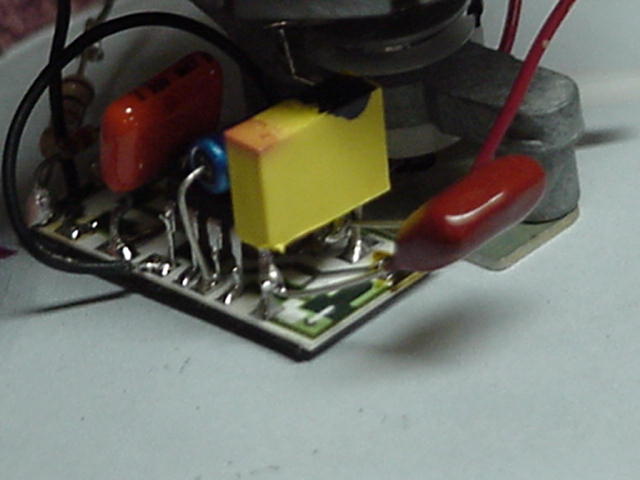
Step 2: With the tach still turned face down, locate the large yellow chip soldered to the PC board. Carefully solder a .033 MFD capacitor across the legs of the yellow chip. The next 2 photos show the tach before and after this modification.
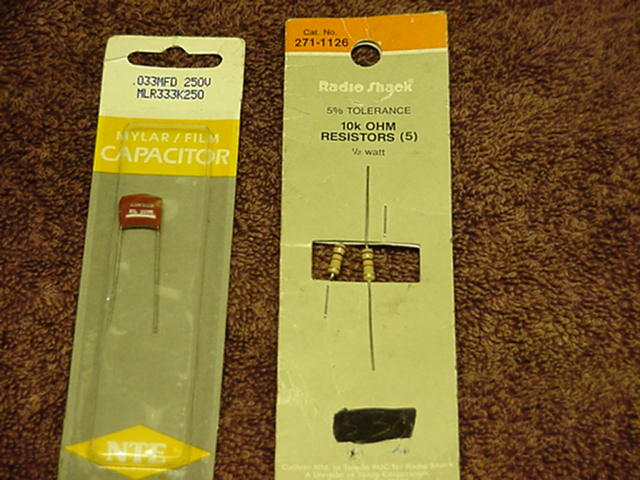
Step3: Reassemble the instrument cluster and reinstall it into the car. The tach will now read V8 RPM rather than V12; the unit should work with very nearly the same accuracy as it did originally. Total parts cost of this modification- about $3. Here's a shot of the parts used to do the job.Total cost in parts- about $4.
XJS 89-92 (Marelli Ignition cars) Once the instrument cluster is removed from the car and disassembled, and the tach is removed, the modifications are pretty simple. There are 2 wires going to the tach movement itself- one red and one black. Cut the black wire in the middle and solder a 330 Ohm resistor between the 2 halves. Tuck the new wire/resistor combo out of the way, reassemble the dash cluster, and reinstall in the car. Total cost in parts- about $1. XJ6 74-87 Recalibration of the XJ6 tach is also pretty simple. Remove the tach from the dash per the service manual. After removal, the front bezel and glass can be removed by twisting relative to the case itself. From the rear, remove the screws holding the tach internals to the tach case, and remove the internals. Locate either one of the 2 wires leading to the movement itself. Cut one in a convenient spot and solder in a 330 Ohm resistor between the halves. Secure the new wire/resistor combo, reassemble the tach, and reinstall in the car. Total cost in parts- about $1. XJ6 88-94 Due to the integrated nature of the XJ40 instrument clusters, these applications must use our external Tachometer Conversion Module box.- please Email for more info. |