Telephone: 408-839-5569
Email: (Click Here) Andrew@JaguarSpecialties.com
Last Update 7-2-24
My own 1975 XJ6CUpdate 2, February 2016
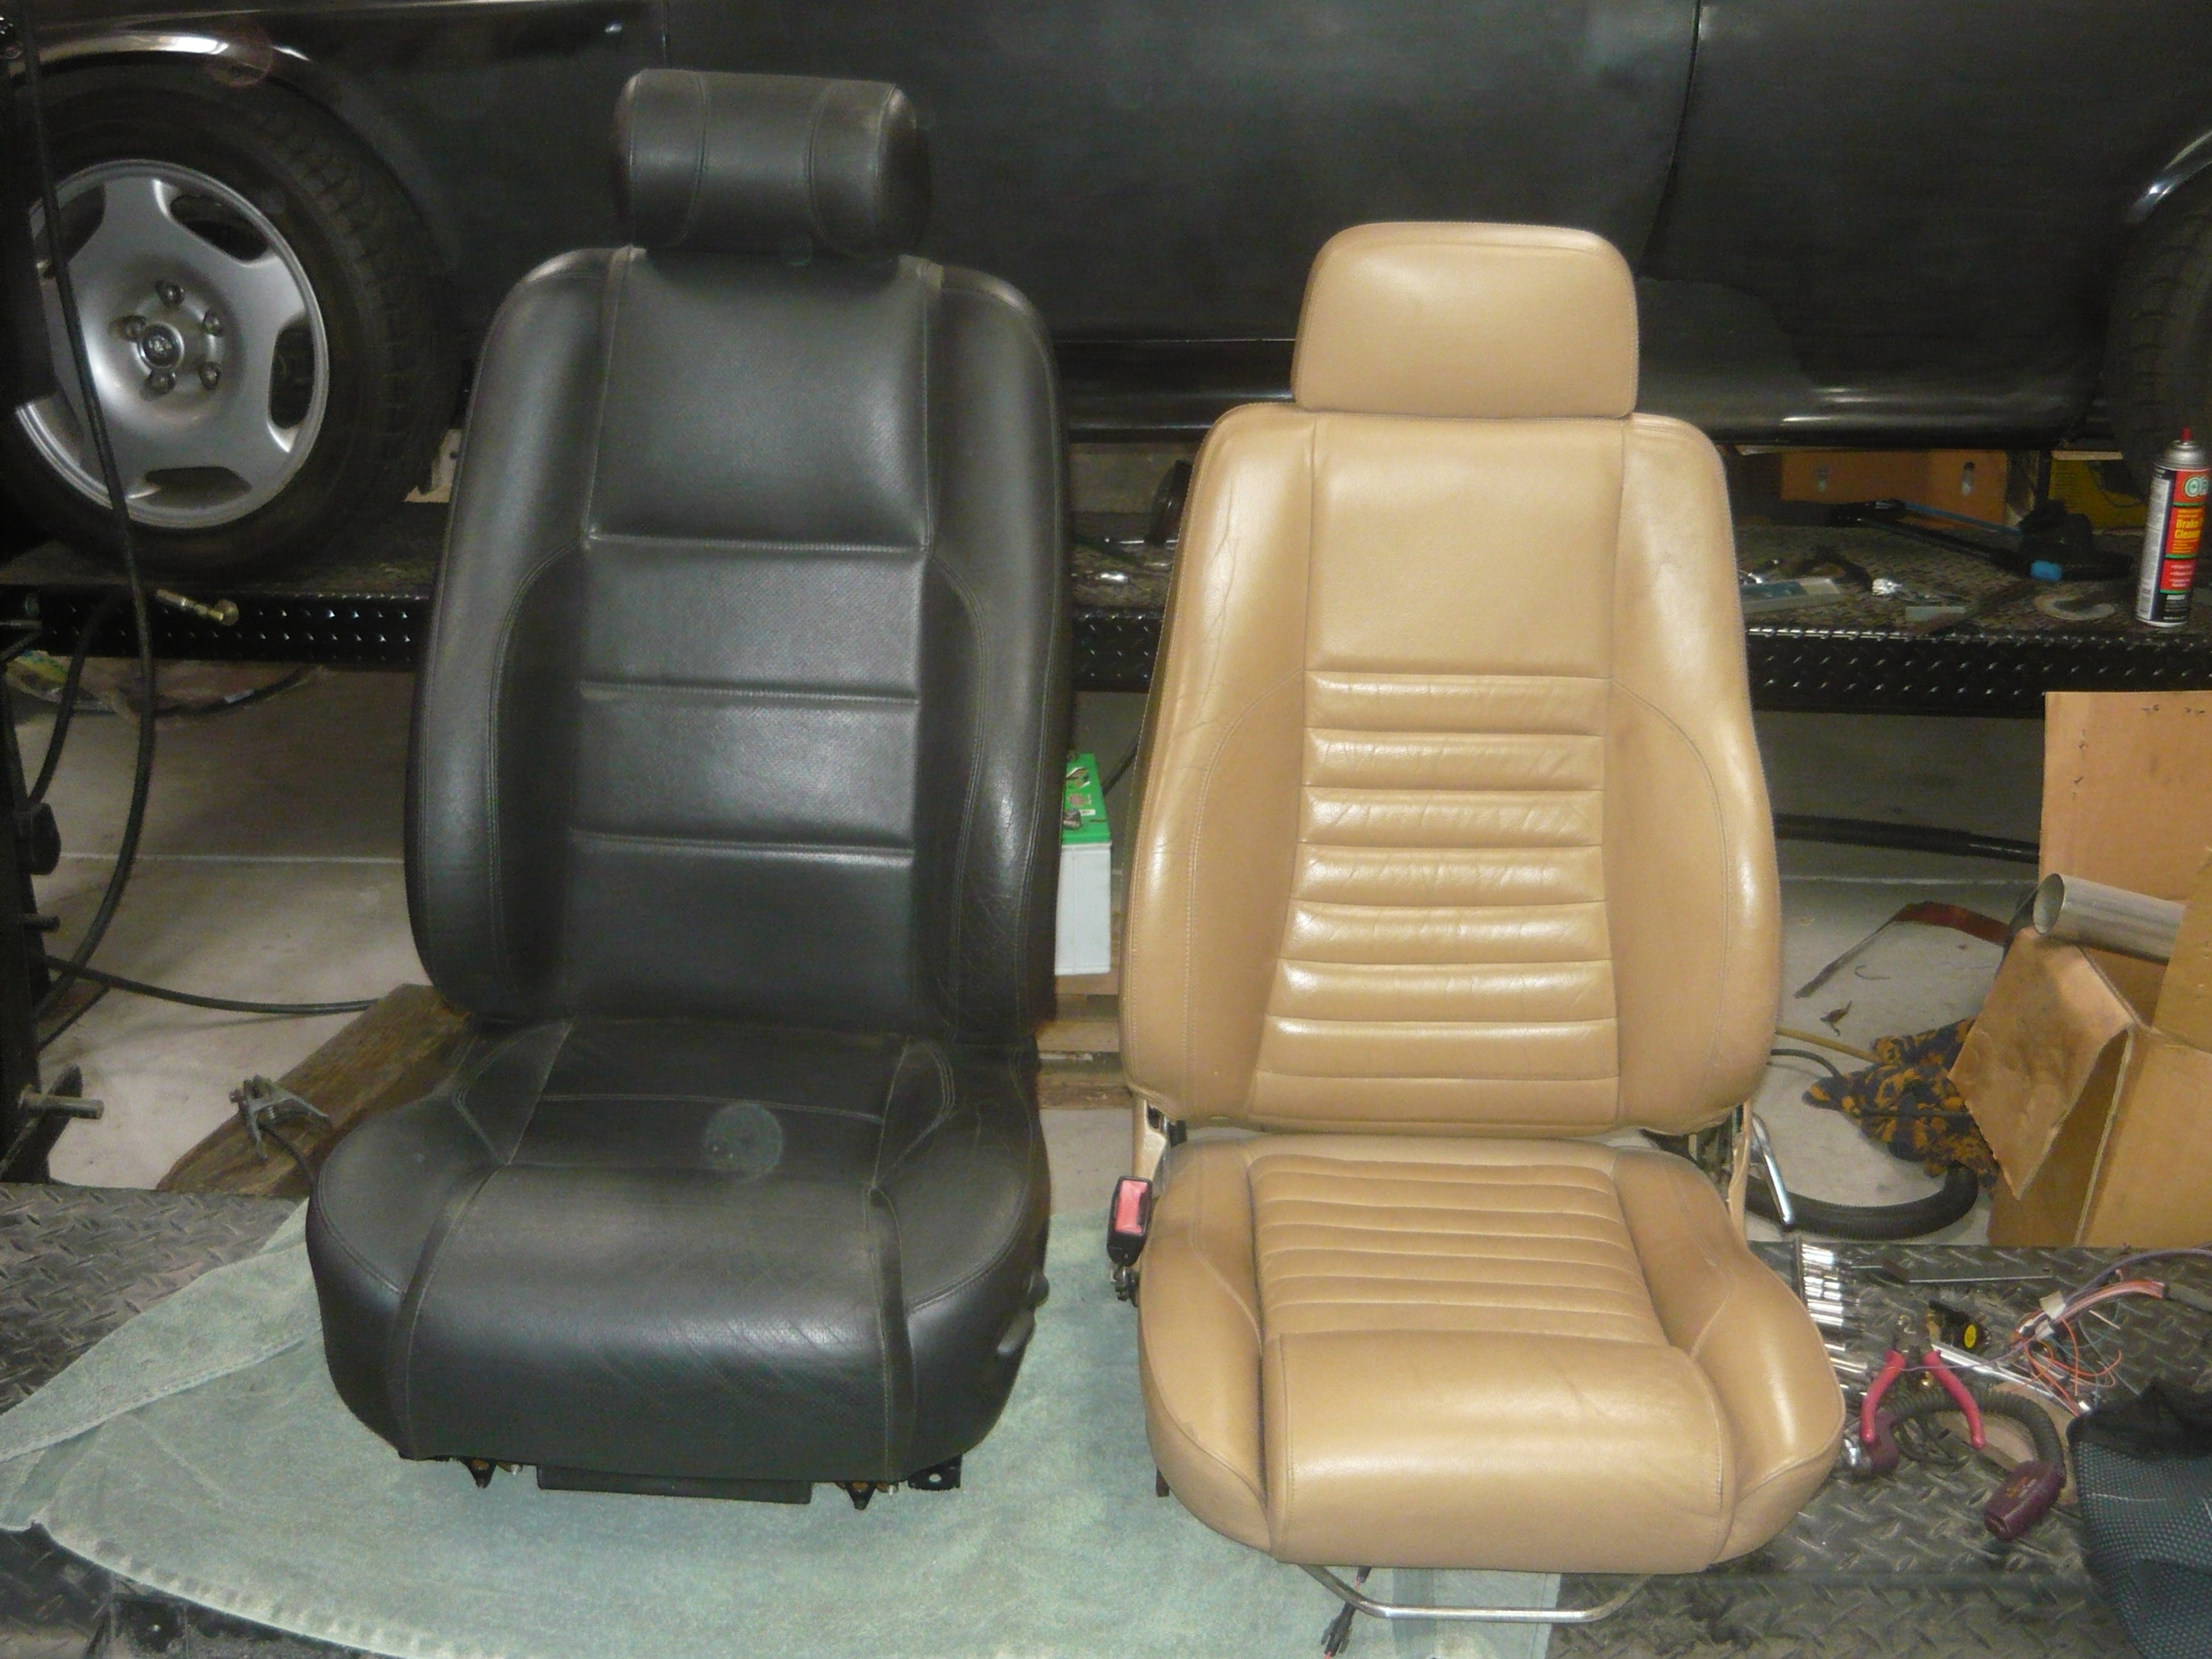
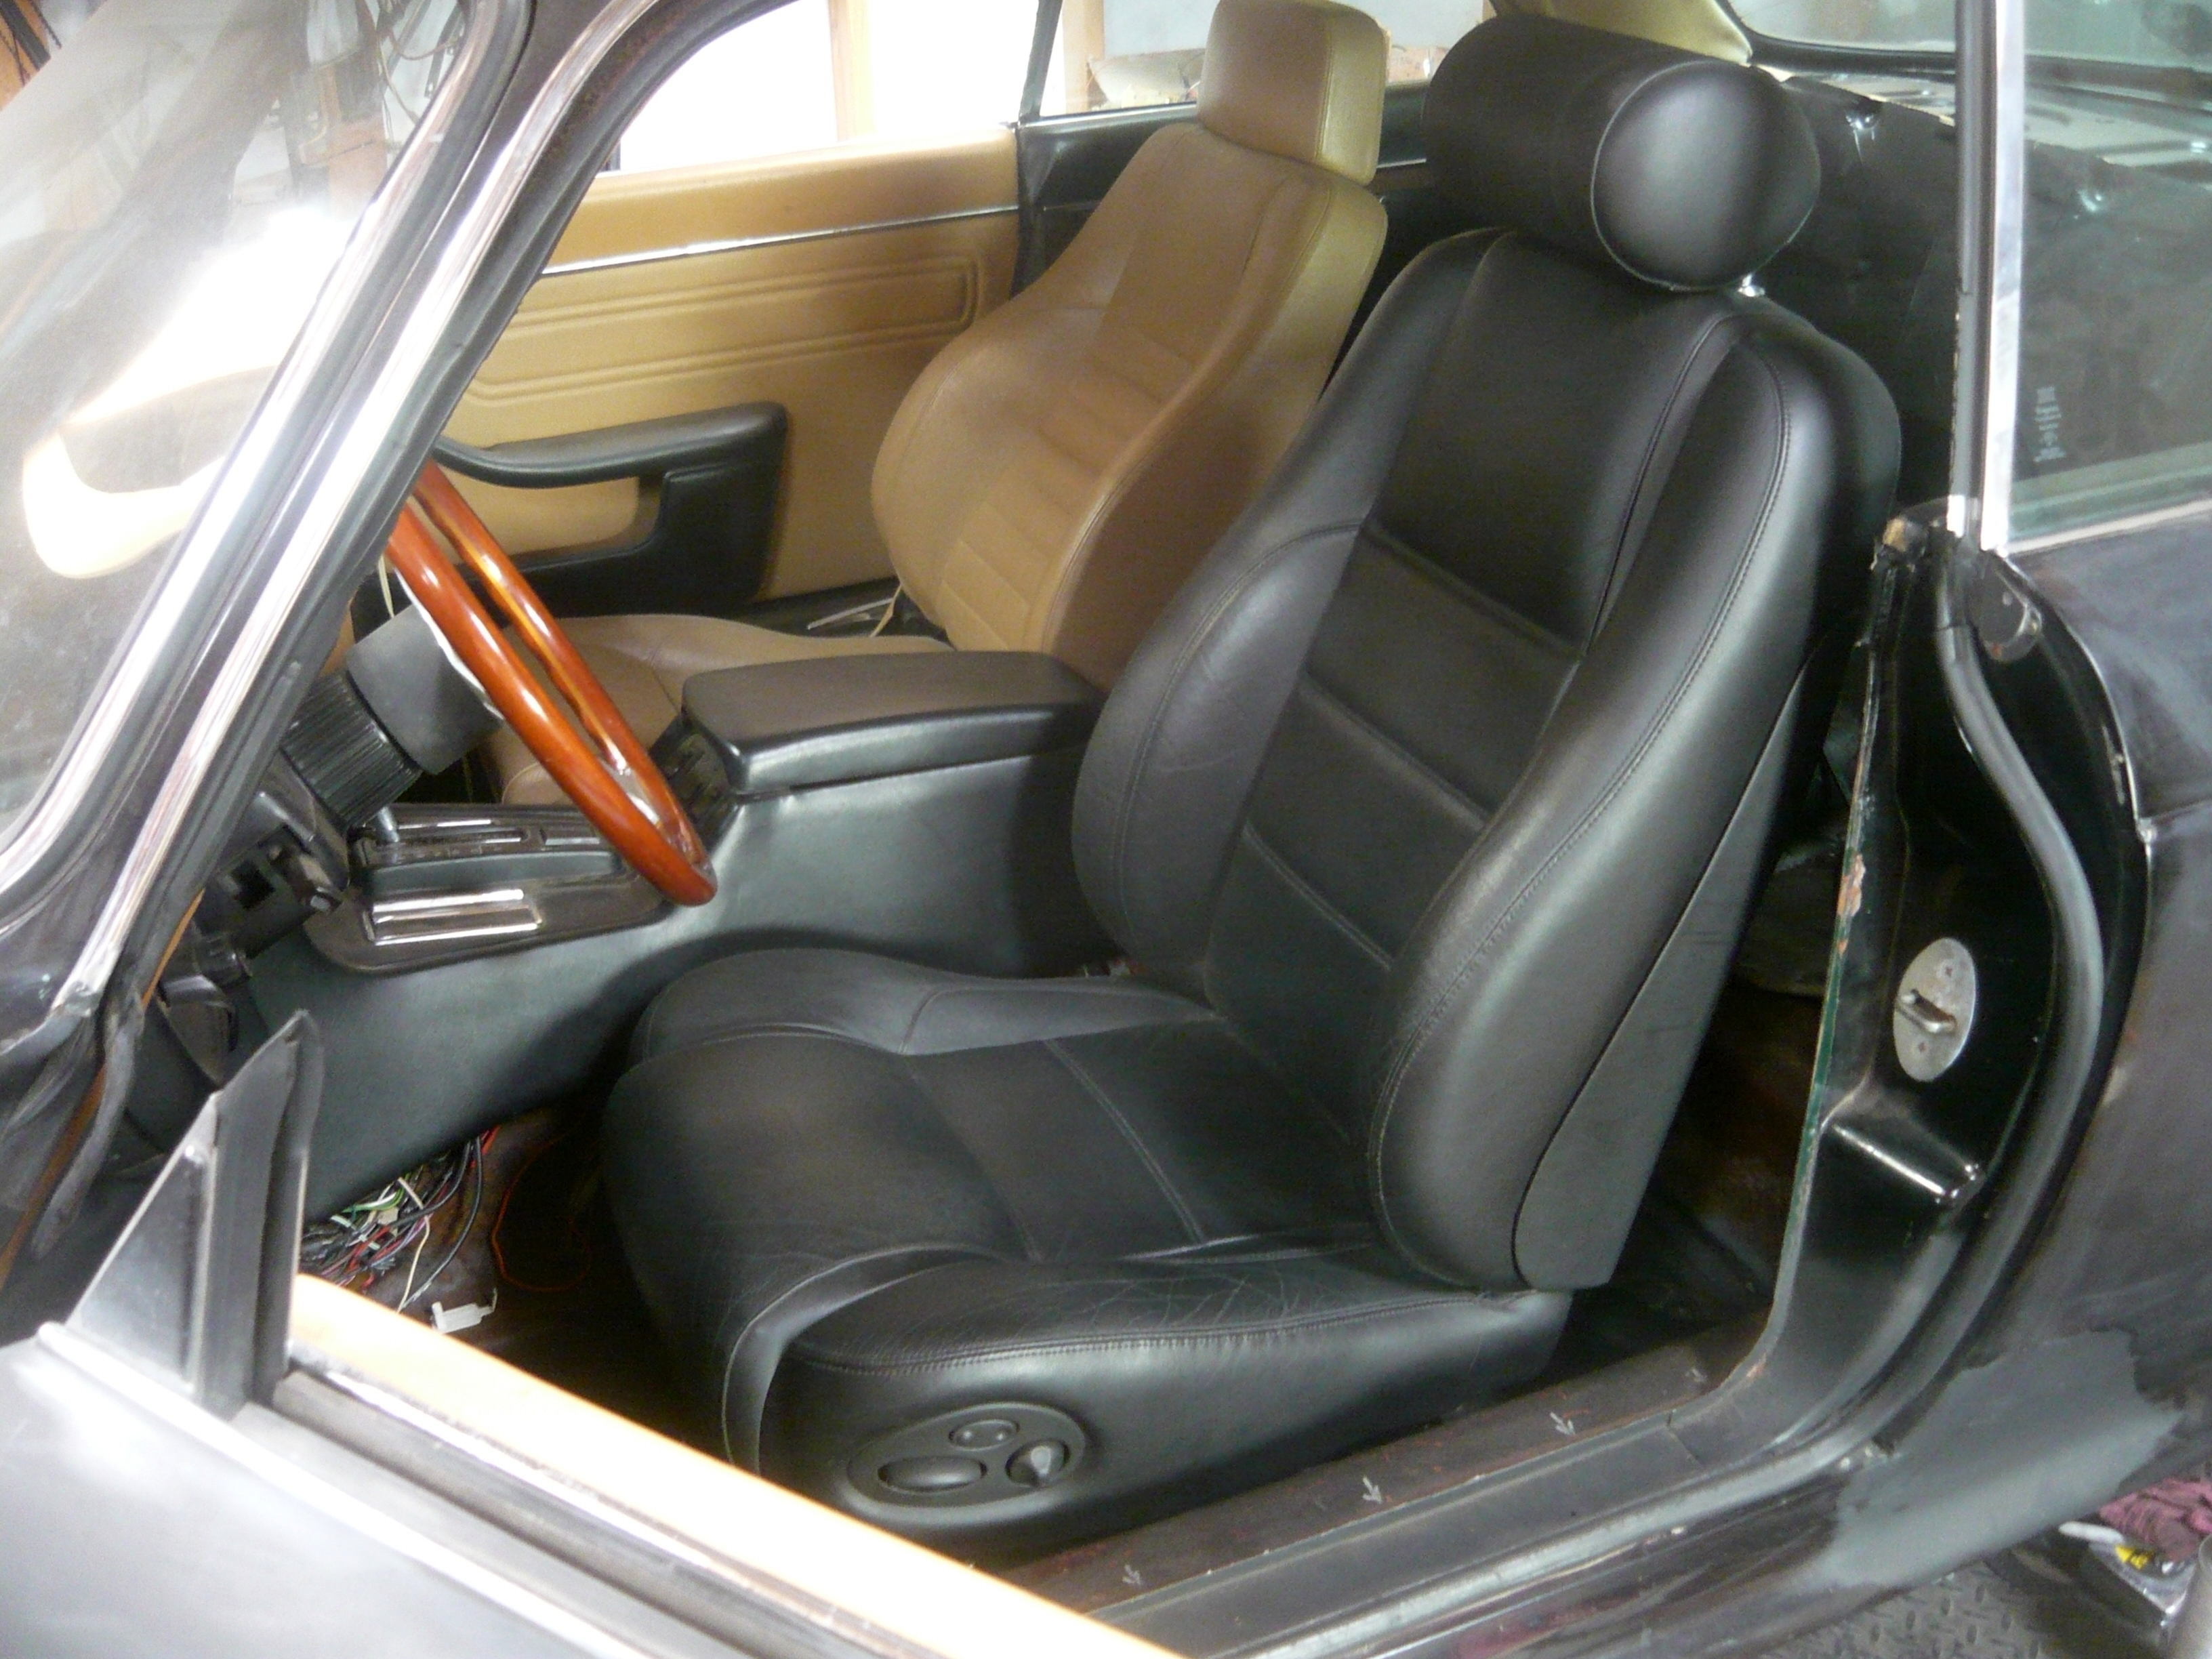
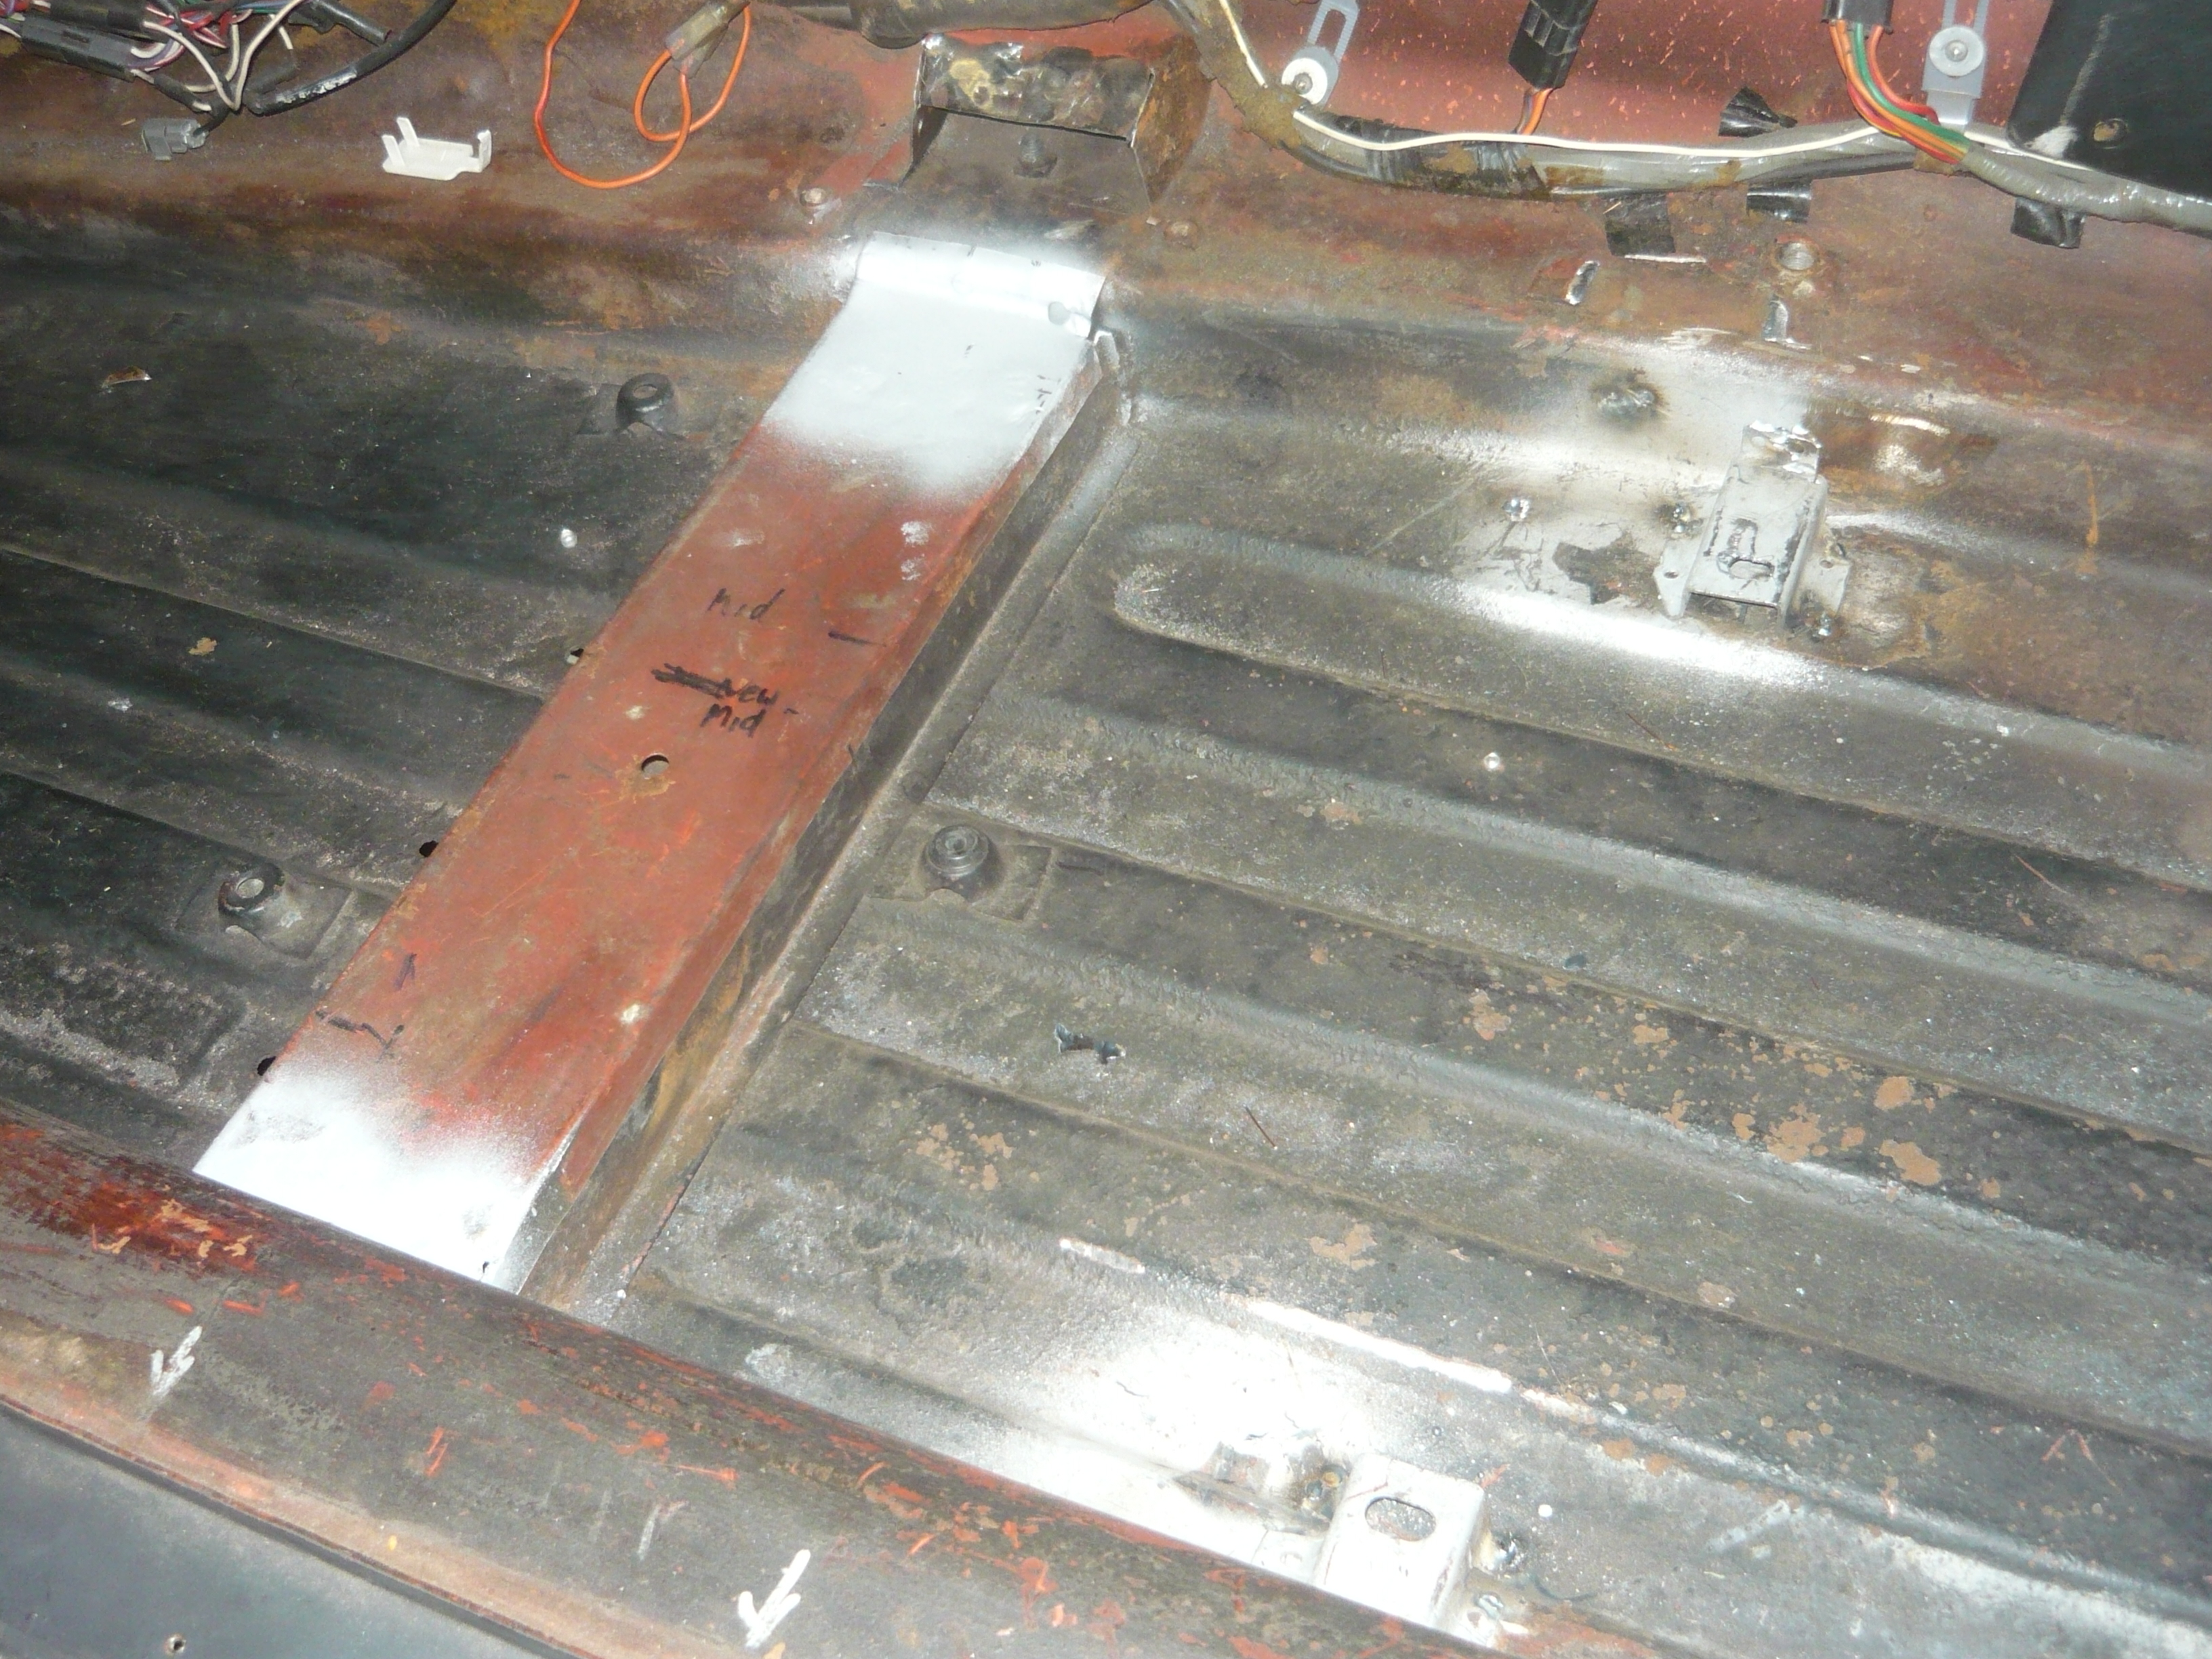
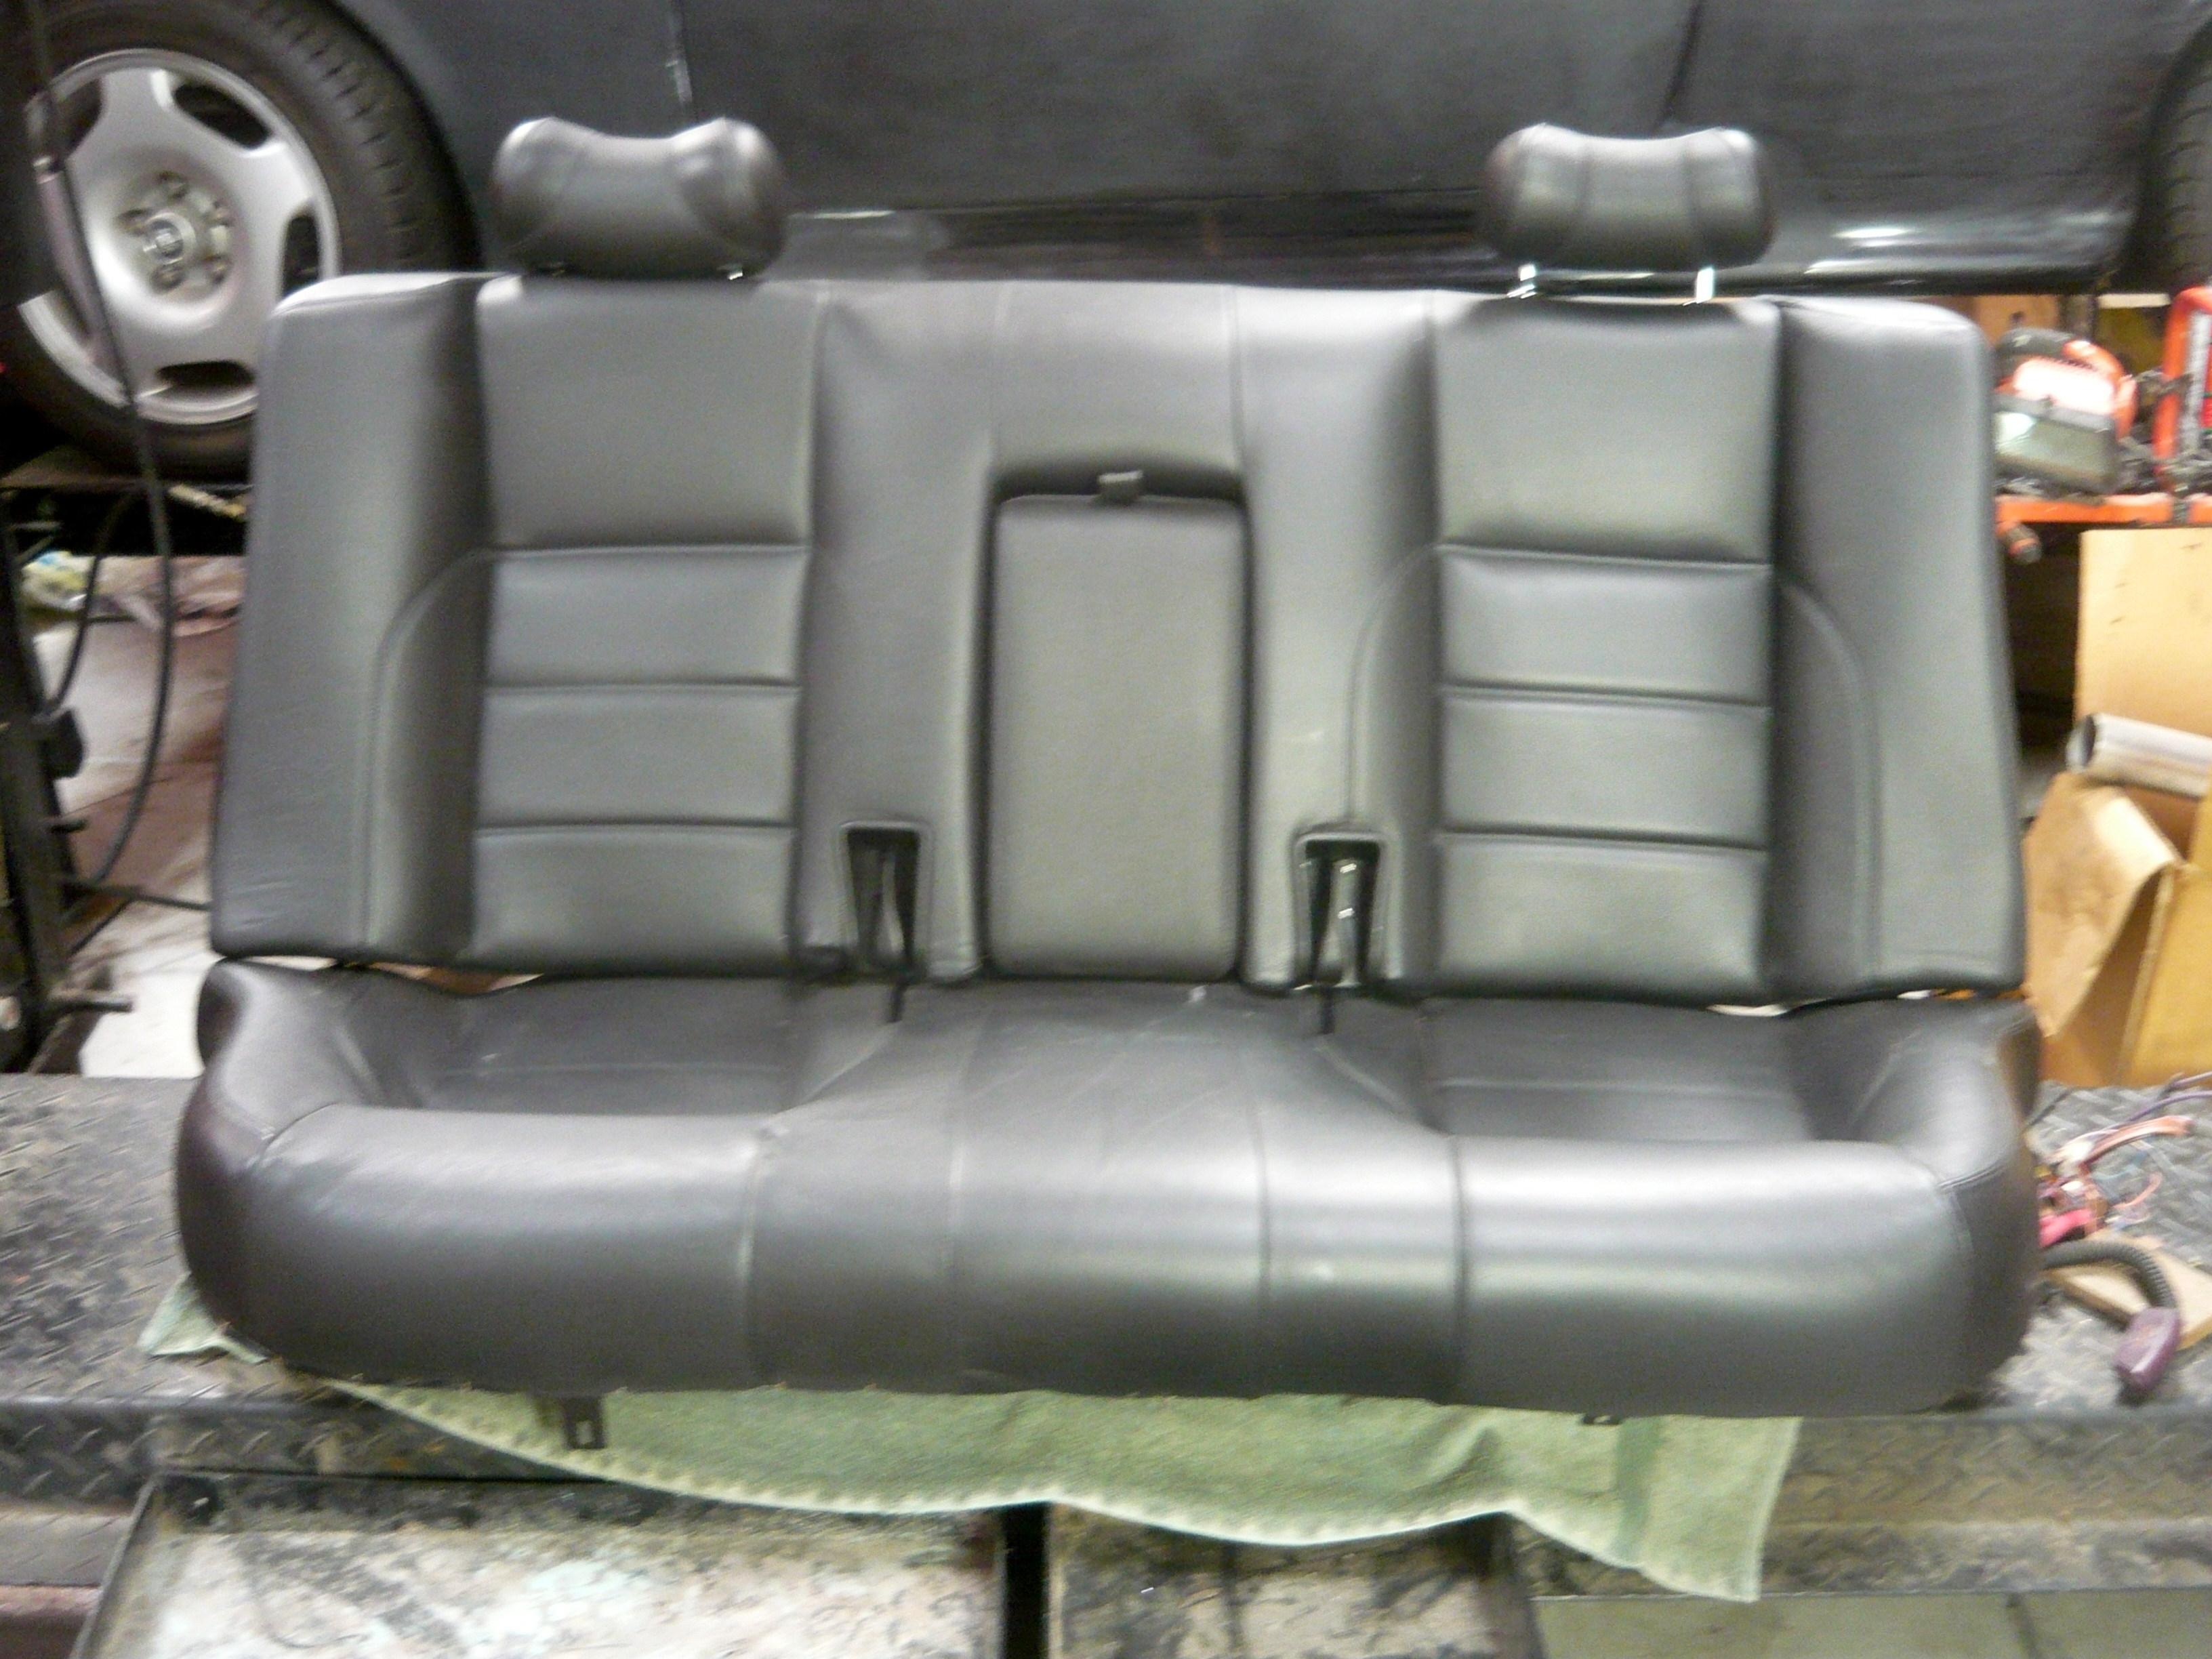
Well it’s been nearly a year since this last update on my XJ6C and I’ve had a lot of fun running the car around town. It’s far from done- mechanically it’s pretty close but it’s not civilized-the interior needs going over and then of course paint. One thing became apparent very early: the car wasn’t that comfortable to drive. Don’t get the wrong idea- it accelerates like a rocket, goes around curves like it’s on rails (and not really a rough ride, even with 45 series tires), and stops well too. The problem was the seats. I had an extra set of 1989 XJS (Recaro) seats left over from a parts car a while back and decided to try them in the coupe. Well they fit and all, but they’re the designed more for a lower car and this more of a chair height but not exactly. The seats use a 8-way adjustable power frame that includes power tilt and rise for both the front and rear of the seat bottom, so it can be set to almost anyone’s preferred position. The controls work through an ECM. relay box mounted under the front and after studying the wiring diagram I was able to get the seat to work out of the car. They even have a memory feature, but I think that is tied into the body control module (to be synced with outer power mirrors. Needless to say, they’ll make a nice addition to the car. As I mentioned above, the front seats have a taller base so the mounting positions in the car needed to be lowered. I worked on the driver side first, sectioning the front seat support bar (cutting off the top and lowering it) a little at a time to get the right height. Due to the narrower track width and the (reduced) height requirements , the rear brackets were ultimately removed from their original positions and then reformed (rebent) to be welded to the floor itself, each one having a leg that was also welded to a local sidewall for strength.. The driver side went slowly, but now that I know what to do, the passenger side should be quick…. For the rear seat, the basic shape is right, but unlike the sedans, the coupe seat sections are square-edged, basically. What that means is there is no need for the seat section to have any shape to go around the inner rear wheel wells as they do in the sedans. What will be required here is the ends of that section will need to be slightly modified – have their round frame and foam sections cut back to a square profile (easy) and then the leather resewn in those areas (my local hot rod upholstery guy, who loves unusual projects like this, can do it). The back rest section just needs to be narrowed slightly. Once done, the changes will be undetectable. What’s also nice is the rear backrest has headrests which will really update the car. Here are some pics of the project as it went forward. You can see the comparison of the seats themselves and then some before/after of the mounting positions on the car Seat mounts before- notice height Seat mounts after- cross bar lowered 2+" and rear mounts on floor
And this is the rear seat before mods- very Euro looking with those headrests
|