Telephone: 408-839-5569
Email: (Click Here) Andrew@JaguarSpecialties.com
Last Update 7-2-24
|
Our 1988 XJSC goes LS, but what
about the clutch and shifter??? XJSC LS Upgrade, Part 4 Go on to XJSC LS Upgrade Part 5, Click Here May 2019
Clutch and Pedals, Shifter and Driveline
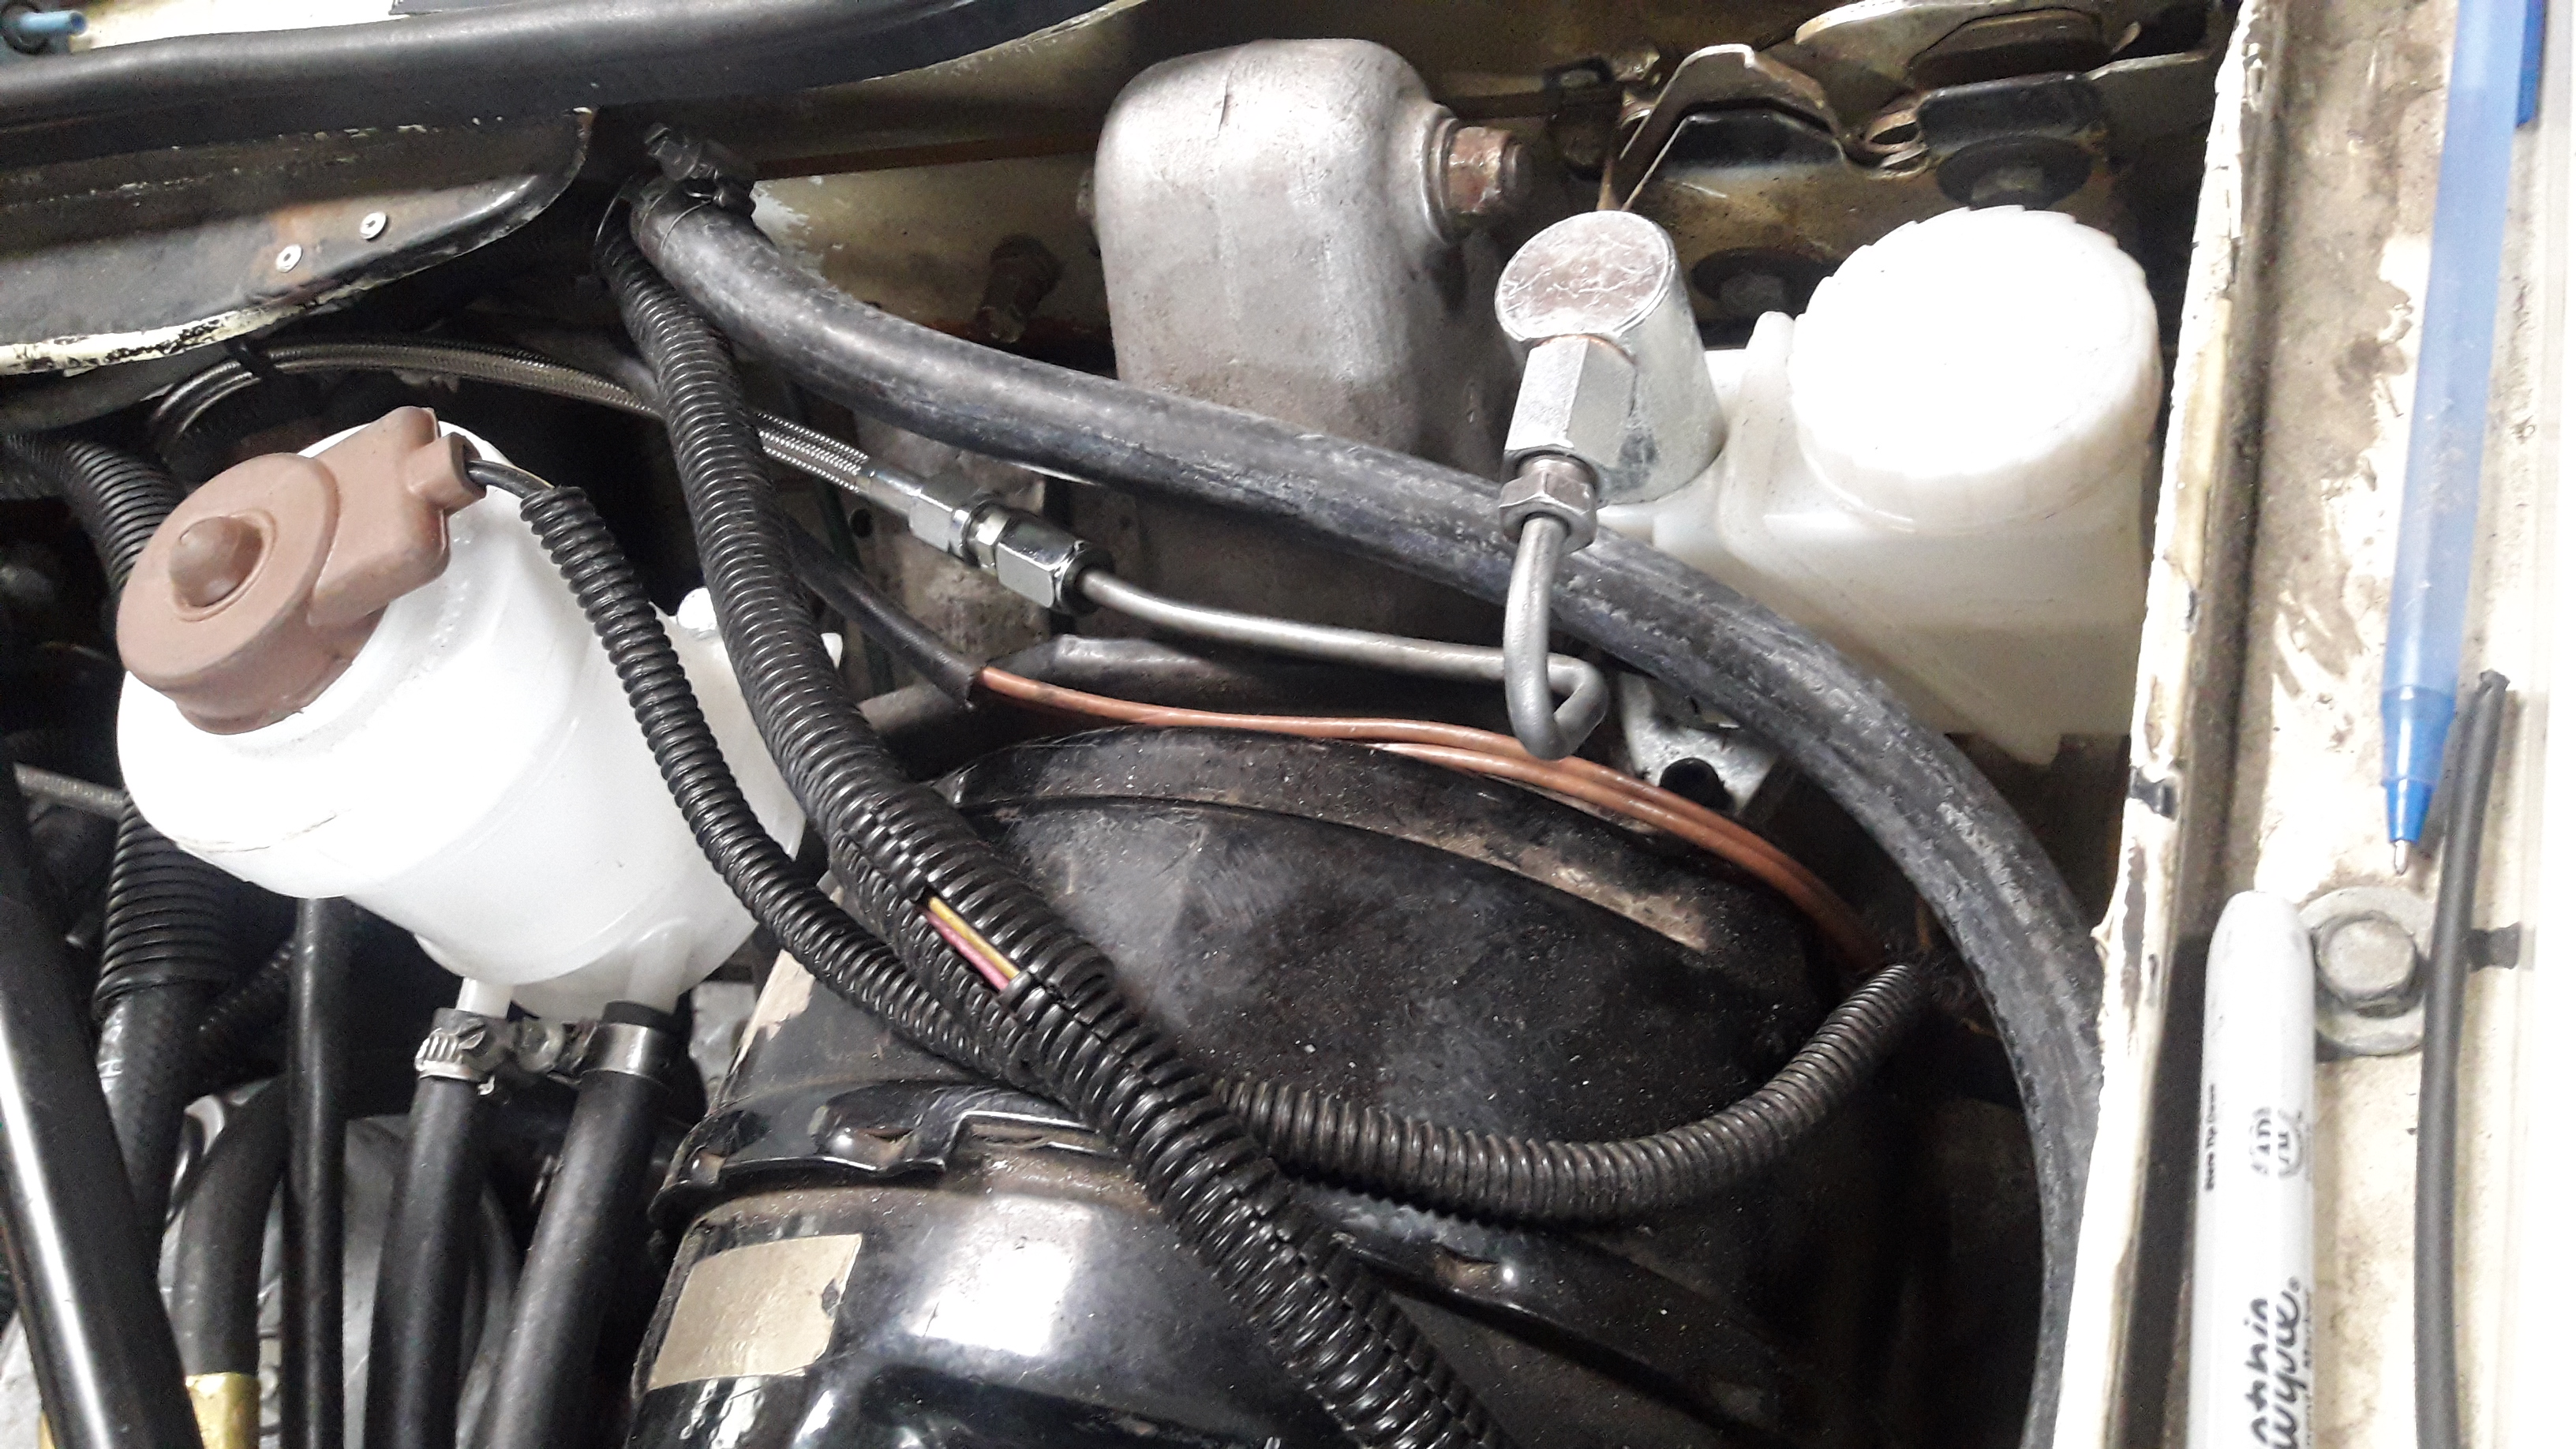
As I mentioned in an earlier, this car was converted with a Camaro LT1 engine and 6 speed manual transmission way back in 2003. The LS install here was meant to update the car so but I also hoped that much of what was done on the original conversion could be reused, so let’s get into that…. Clutch and Pedals So we used an XJS manual transmission pedal box from a RHD car in the UK when the original conversion was done (it was converted to LHD style- the pedals are re-bent to fit the LHD application). I was crossing my fingers that the combination of the original style Jag clutch master cylinder and the newer style LS hydraulic thrown out bearing would work. Although both the LT1 and LS1 use basically the same T56 transmission, the LT1 used an external (to the bellhousing clutch slave cylinder) while the LS1 uses a hydraulic throw out bearing (with the clutch slave and clutch throwout bearing integrated into one unit mounted around the transmission input shaft). When mixing and matching hydraulics like this there is always a worry as to whether the clutch master will displace enough fluid to move the slave enough to release the clutch. A larger bore clutch master cylinder will move more fluid but the pedal pressure (force from your foot) needed to do it (against the clutch pressure plate) is higher. And if you’re ever driven a manual trans car in traffic you really don’t want to have a clutch pedal feel that is overly heavy as that quickly tires your leg and knee out. So the hydraulic mix is a balancing act. In the end, using some a combination of off-the-shelf pieces to connect the Jag clutch master to the LS1 throwout bearing we had success- the clutch release worked. One interesting bit of info you may not be aware of is that due to space limitations under the hood, the Jaguar clutch master cylinder is mounted vertically. While hydraulics don’t really care what orientation they are positioned, the key for a system like this to work is that any air in it is removed. With a vertical master cylinder, there are some tricks to that and once that was understood, all was well. Here’s a pic of the left rear of the engine compartment with the clutch master cylinder tucked in just outboard of the brake master/booster, and the new hydraulic clutch line running from it… (a combo of steel braided line and steel tube)
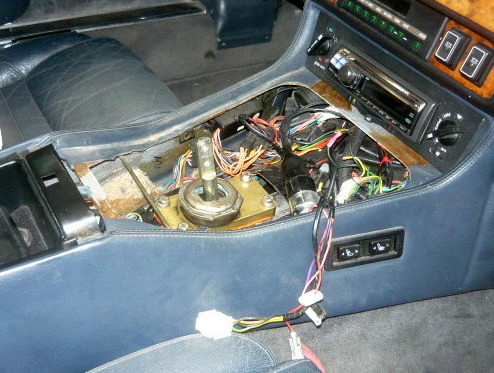
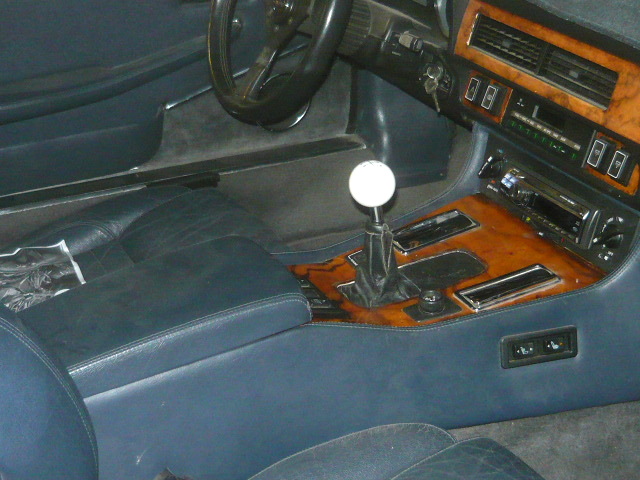
As far as the pedals themselves, nothing changed there and the very same pieces were reused and worked fine. BTW- Just so readers are aware, since we originally built this car (and procured a manual trans pedal box from an XJS in the UK), several companies (here in the US) now offer kits to convert US-spec (automatic) pedal boxes to manual style. And some of them will even do the conversion for you- send them your pedal box and brake pedal and they send you back a unit ready to bolt into the car and get shifting. One other main advantage of these aftermarket pedal box arrangements is that they use an off-the-shelf Wilwood (Lockheed style) compact clutch master cylinder which is much easier to find (and much less expensive) than the OE Jaguar unit. So the message here is that any XJS owner looking to go manual trans can do it with no trouble at all.... For more info on that, Email me... Shifter So in the previous conversion we opened up a hole in the trans tunnel for the shifter to pop through, and I was interested to see how the LS1 version would be positioned relative to that. As it turned out, the new LS1 shifter position was almost identical to the LT1 position, but slightly rearward. However, it was also more centered in the console which may be a result of the LT1 transmission (from the 1997 Camaro SS, a car upgraded for GM by SLP in Detroit from new) coming with a B&M aftermarket shifter. The LS transmission here used a slightly different shifter, but it fit the console area better. I switched the console lid (the wood part on top, called the “ski slope” to a version from a 94-96 XJS which has a slightly longer shifter opening, and all was well. All of the stock XJS switches fit this lid perfectly and a common aftermarket black leather shift boot completed the installation. Here are some pics of the shifter poking up through Here are some pics of the shifter in the open console (with a stock Camaro T56 rubber boot sealing it to the floor) and then the finished console.
Driveline On the driveline side, nothing really exciting or challenging was expected there. As the LT1 and LS1 used the (basically identical) T56 transmissions, it stands to reason that the driveshafts for both applications would be (mechanically) identical. The only variable might be the length as we have the LS engine positioned slightly rearward of the earlier LT1 (and other Small Block Chevy) engines. Some adjustments in length were incorporated and the driveline bolted right in. One important note- because these cars have an independent rear suspension and as such a fixed differential, the old driveshaft guideline of pushing the transmission yoke in all the way and then backing it our ľ”-1” before measuring for length to the differential does not apply to these cars. The ľ”-1” range is to allow for a live axle going up and down to (by nature of geometry) push and pull the driveshaft front yoke in and out of the transmission as the car goes down the road. We don’t need that and generally, the closer the front u-joint is to the transmission, the less any play in that joint will be amplified at speed. So in the cases of drivelines for these (IRS) cars, we only pull the transmission yoke back say 1/2” max from full bottom to get confirm driveshaft dimensions. The last word here on the driveline is that we’re trying the later Spicer “Lifetime” (sealed) u-joints on this car. These require no maintenance and are sealed for life, and are really no more expensive than older (greasable) types. They do have another advantage in that having no internal lubrication passages means the U-joint cross is solid, so in theory, stronger than the non-sealed versions that are hollow. That’s it for now. In the next installment we’ll get into the front suspension rebuild, late model XJS steering rack installation, and front brake refresh… Questions or comments?? Send me an Email: andrew@jaguarspecialties.com Talk to you soon, Andrew
|