Telephone: 408-839-5569
Email: (Click Here) Andrew@JaguarSpecialties.com
Last Update 7-2-24
|
Meet the lucky project XK8 and
prepping the G8 drivetrain
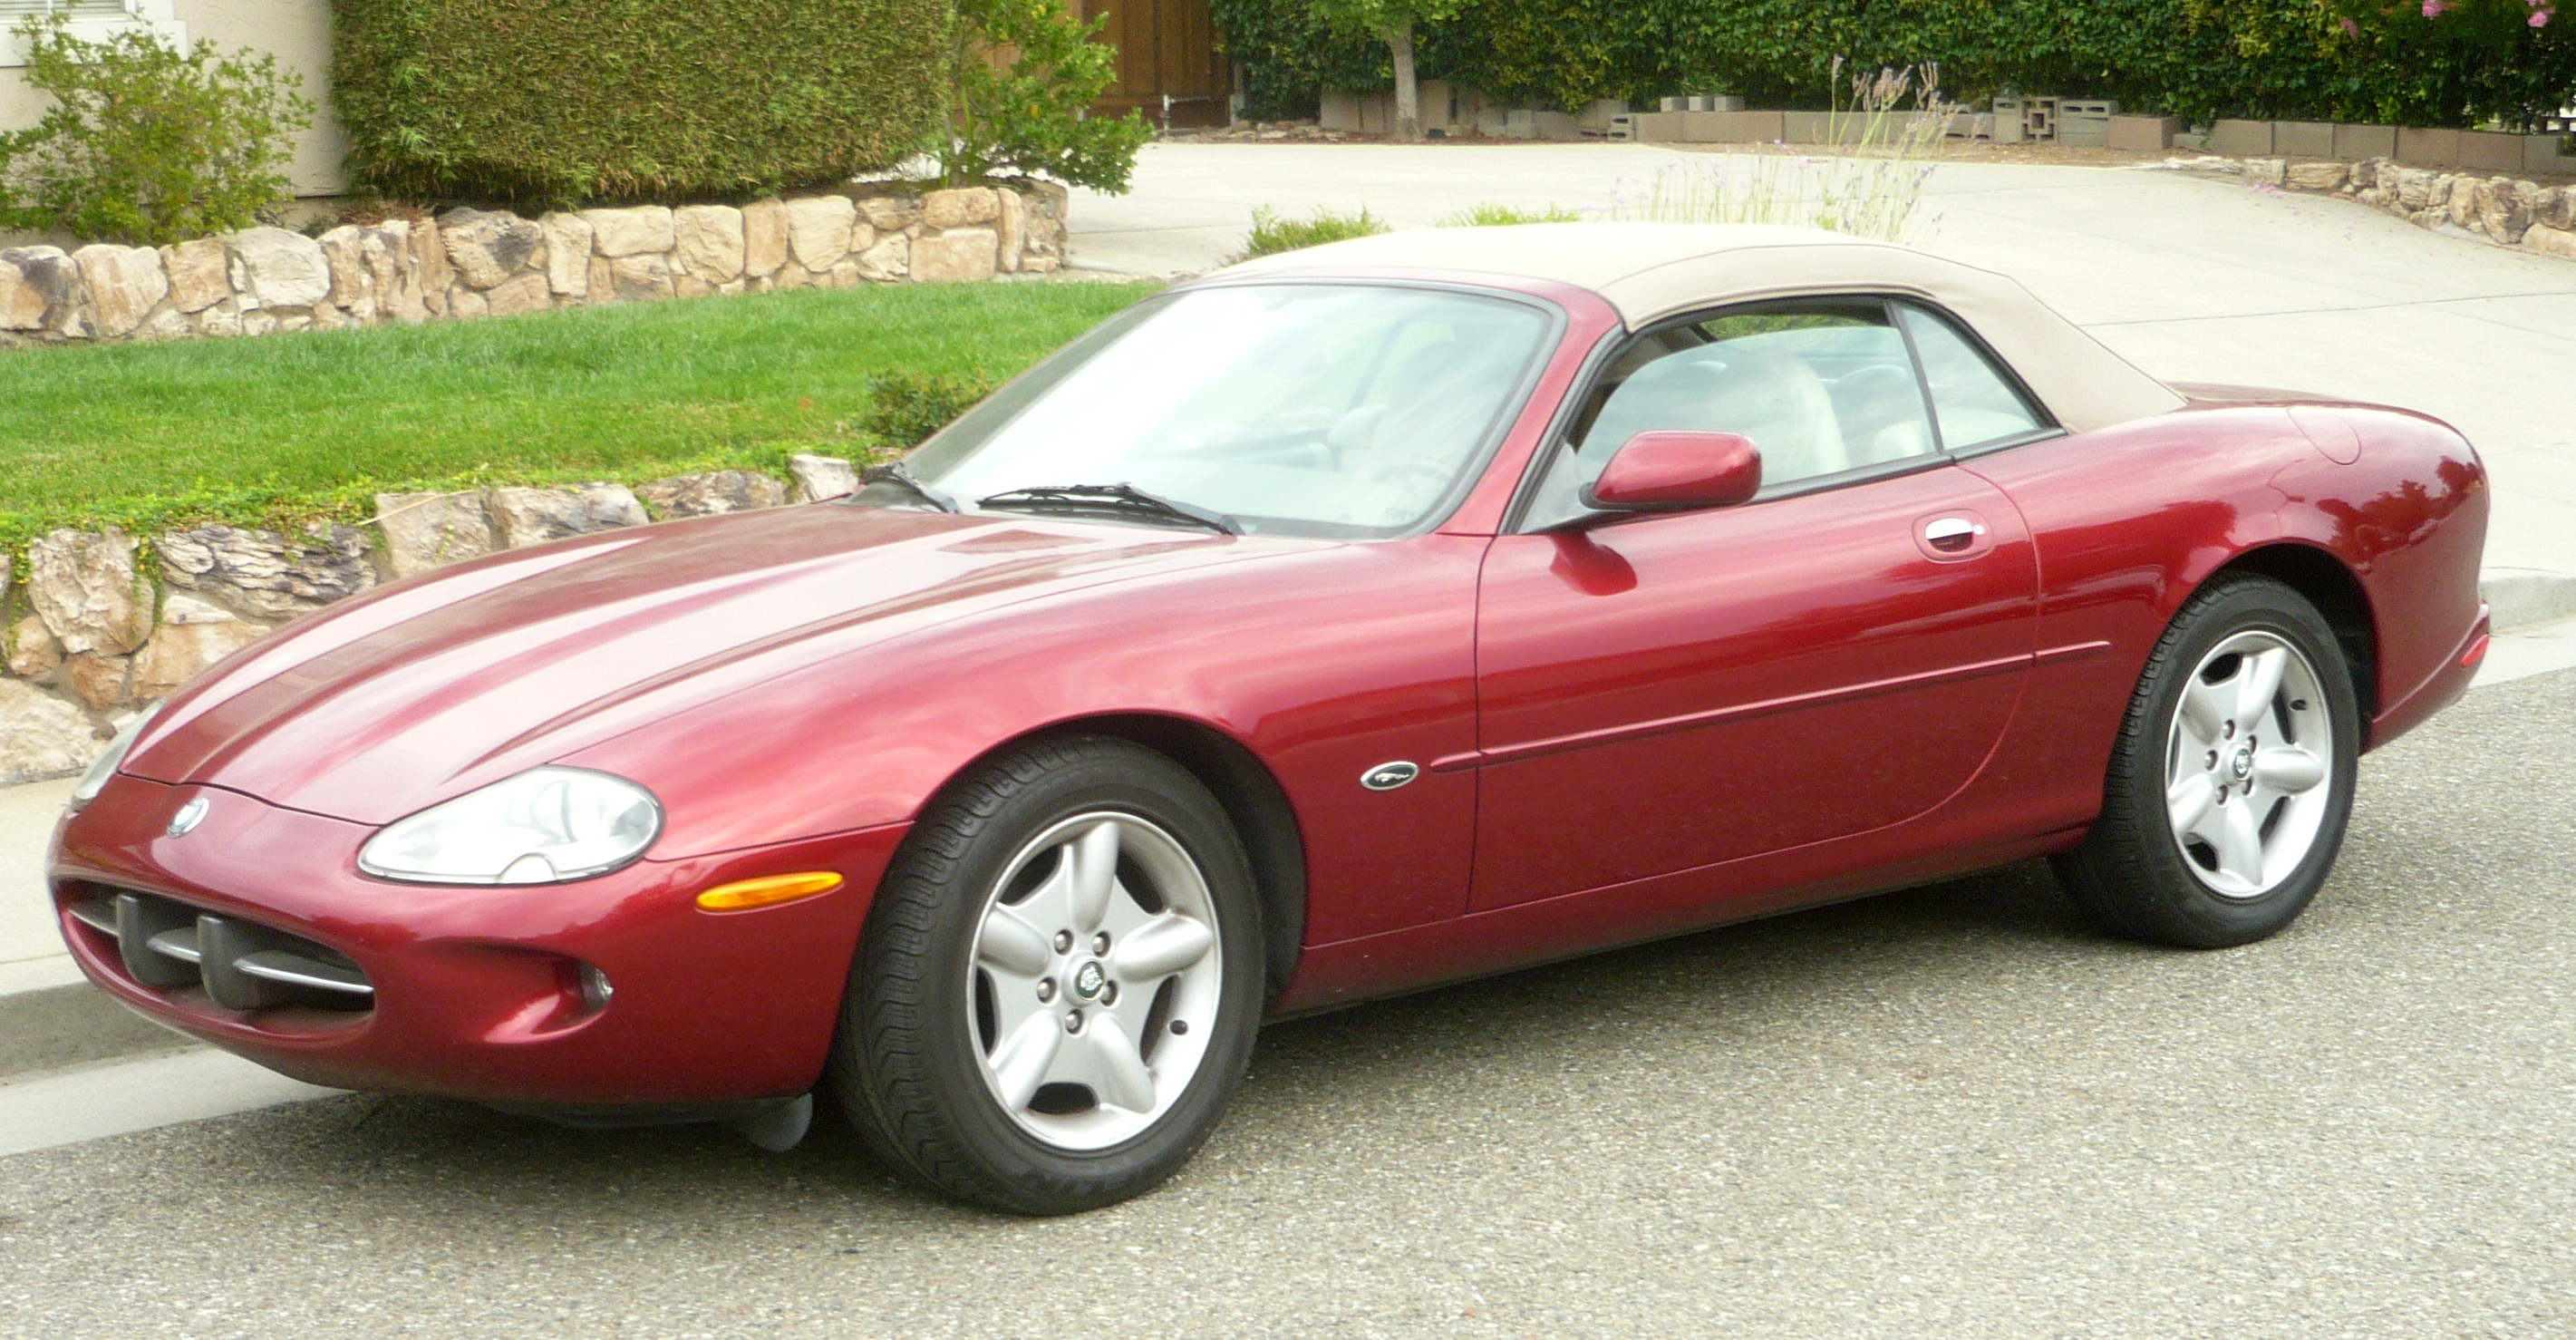
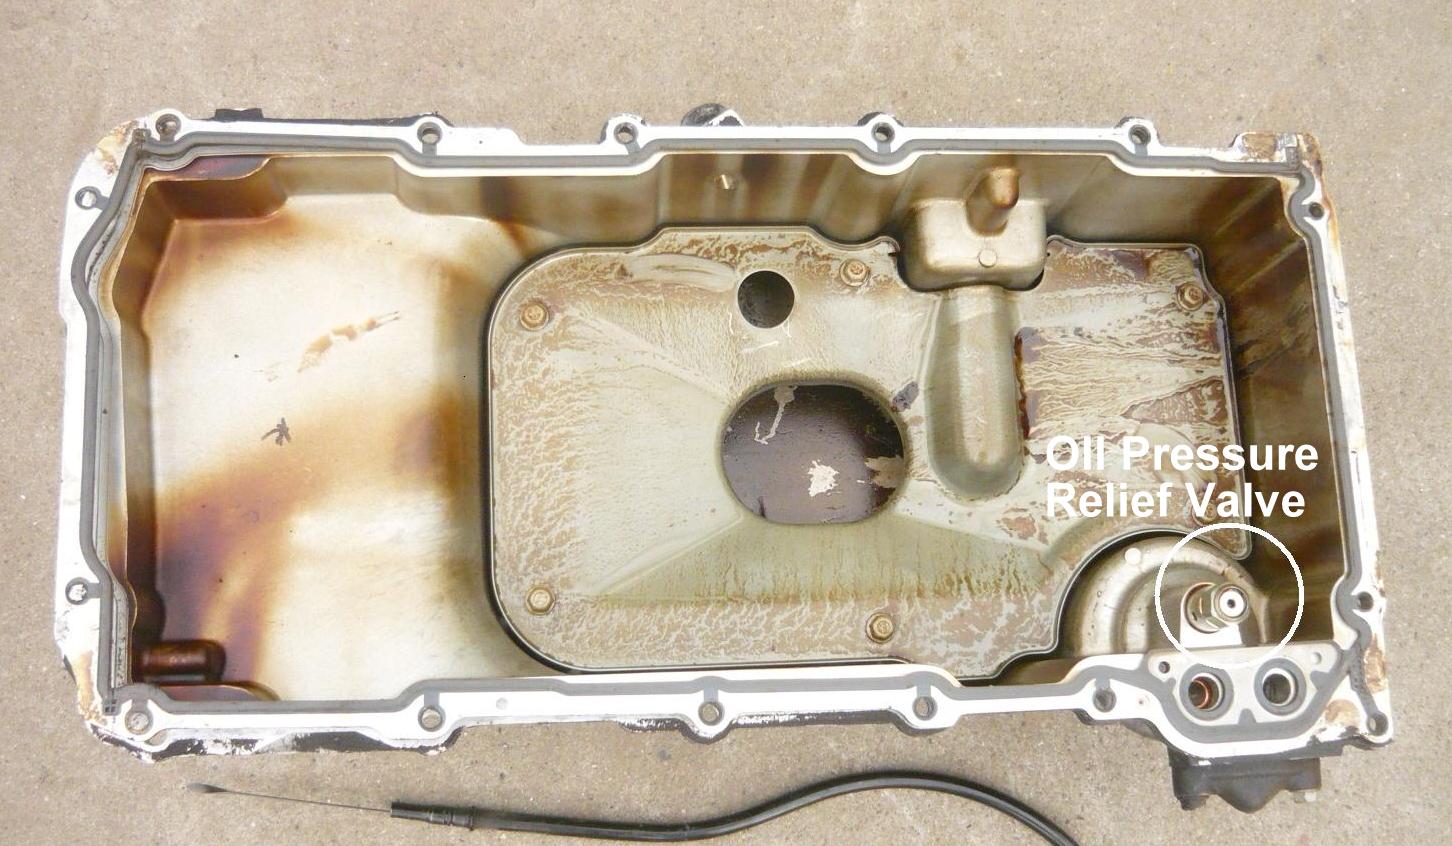
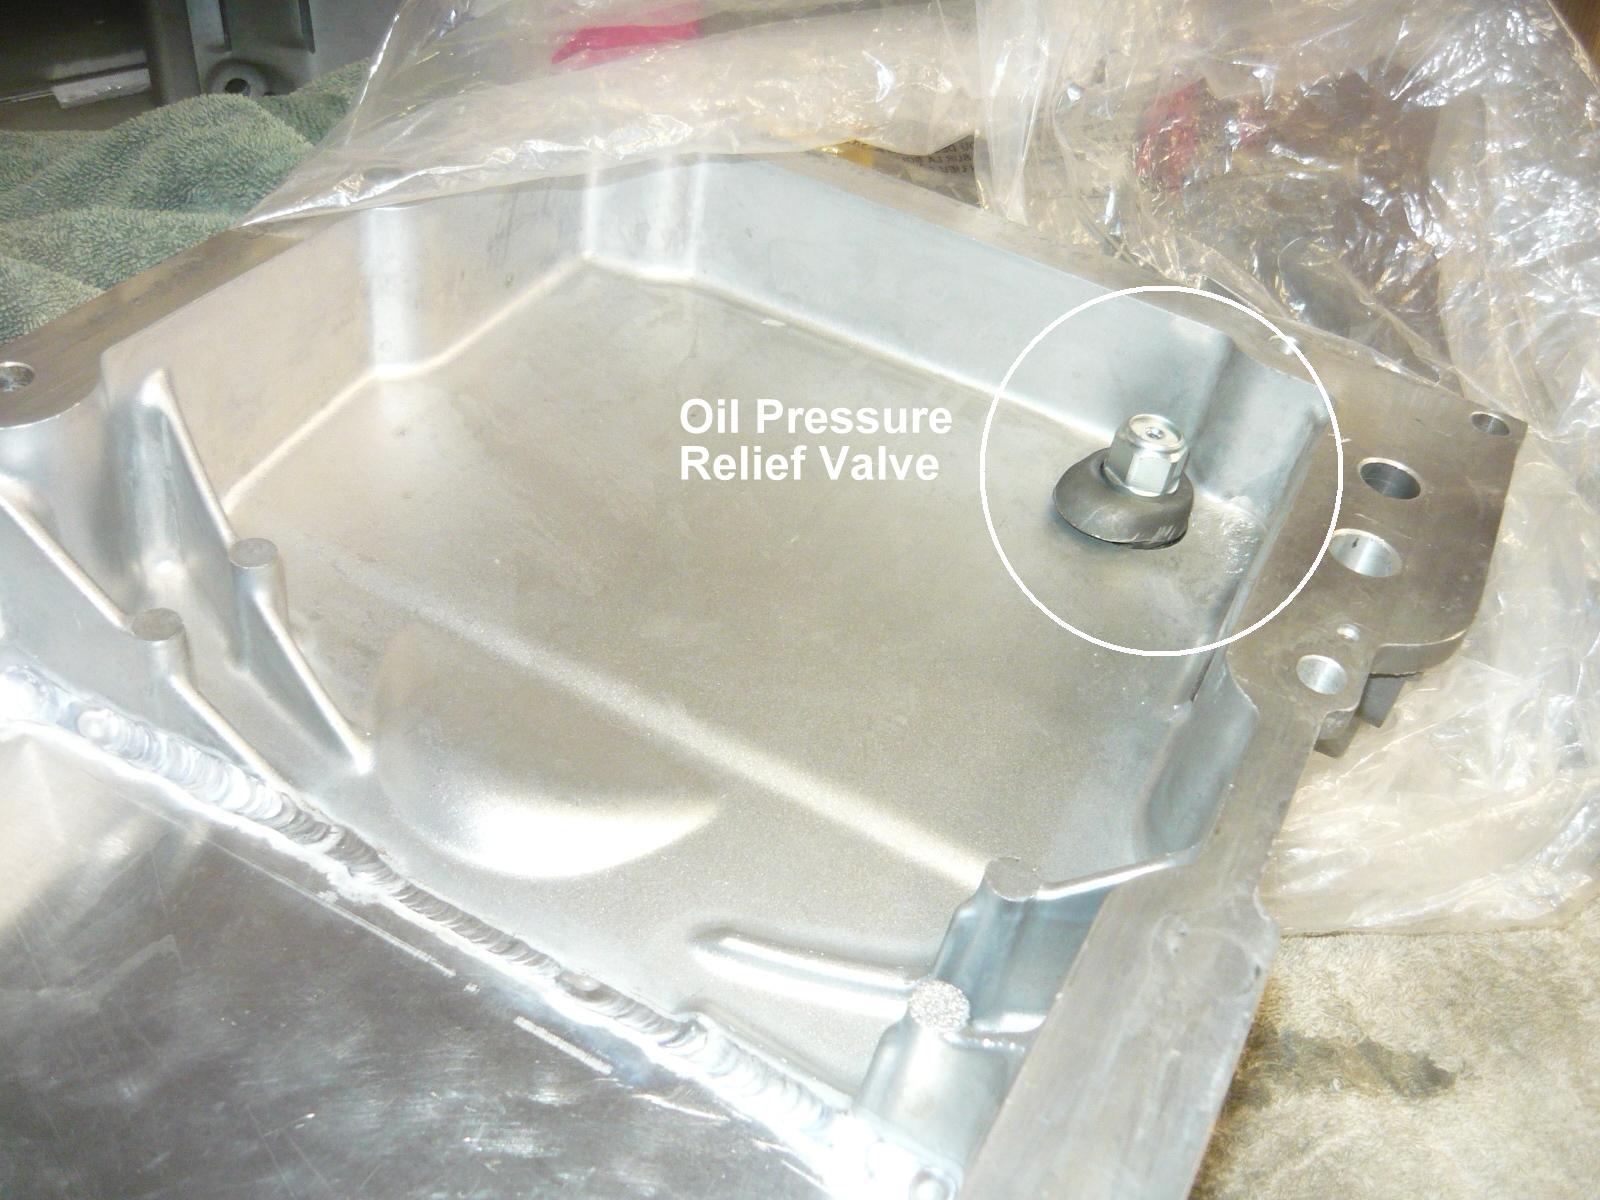
Part 2 - Getting things ready...(below) Go on to Part 3 (Click Here) (This is the second in a series of articles on installing the later Gen4 LS engine packages in our Jaguar cars. Check back from time to time for an update) Coming from Part 1 the obvious question is where is this G8 drivetrain going- into which Jag?. Since this is a relatively advanced engine package I wanted it to go into a more modern car, so the target would most likely be an XK8. From there I really wanted to use an XK8 coupe and looked around a bit for one, but in the grand scheme of things, it was not to be. Jaguar only made about 1 coupe for every 7 convertibles during the XK8's run, so finding a good one was tough. The few I saw were either too high miles, too rough, too far away, or a combination of the three. But a good opportunity, though not in a coupe, come up in a 97 XK8 convert that had been a one owner car and had only 75k miles. The original owner was a local high-tech executive (we're located in Silicon Valley in California) and he loved the car from day one. However, over time, as some big repair expenses began to hit, that love affair dimmed and a major transmission failure ended the relationship for good. It's a good looking car in "Carnival" red with oyster interior and in pretty nice shape overall- perfect for our project. Some pics of the car as received are above. From here the project began with getting the car ready for the conversion, following the same conversion manual that comes with our XK8-LS conversion kit. The Jag drivetrain and everything related to it forward of the differential to behind the cooling fans was removed. The original Jag ECM and TCM were also removed as was the Jag engine wiring harness from the engine. The Jaguar engine harness was removed to be stripped down to just the few functions we will reuse on the LS engine. After a day or 2 of work we had a clear clean engine compartment ready to go forward. For the new LS engine package, work began prepping it for the car. The original G8 exhaust manifolds were removed (they drop in the wrong location) as were a few odd heat shields that won't be needed in the Jag. Attention turned to the wiring harness which had been carefully disconnected from the car without any cutting. Here the slimming/trimming of the harness began, removing what was not needed and tagging all of the key inputs. The G8 uses a modern (and very large) fuse and relay panel in the engine compartment and I was thinking to reuse it, but because of its size and the fact that it included so many other functions (not drivetrain related) it was decided to toss it and go to a more compact mini-fuse panel. (more on that later). The wiring mods continued until all wiring inputs into the harness were labeled and understood. One note- I always push our customers to buy the GM factory shop manual set for the donor car so as to have the most complete info on the drivetrain to be installed, but most importantly to have the complete wiring info. The GM manuals outline the wiring in the car completely, down to individual views of each connector and what color/function each wire is. These manuals are invaluable during the build, but will also be very helpful for troubleshooting and repairs going far into the future. Continuing on the mechanical end, the stock G8 oil pan would not fit our chassis as it is rear sump and we need a front sump style. There is a GM based oil pan that is a front sump configuration, but this engine also has an additional requirement from an oiling standpoint. As mentioned in Part 1, the L76 engine has "Displacement on Demand" (DOD) which deactivates up to 4 cylinders when the car is running under light load. This is done by using a special very high volume oil pump supplying 8 special electrically actuated hydraulic lifters. When the oil flow is turned off, the lifters collapse and close their respective valves, and air/fuel is shut off to those cylinders. The extra oil is bypassed back into the block. The high oil volume is required when the lifters are indeed working (all cylinders firing) and in off periods that high volume (if unused) results in very high oil pressure (greater than 80 psi) without some sort of oil pressure relief. The stock G8 oil pan has a special valve in the oil system that bleeds off pressure above a certain level and our new pan (compatible with the Jag chassis) needs that too. Our new pan (style) is a GM part and was actually offered (and still sold new) in 2 versions, one plain style and one with the extra oil pressure relief valve feature. (The DOD feature is also used on the 2010 and up Camaro L99 6.2L engines with automatic trans, so the above explanation also applies to them). Below are some pics of the inside of the G8 pan (oil pressure relief valve bottom right) ) and a shot of the inside of the Jag conversion pan with that same type valve installed (right rear of the pan). The dark gray umbrella like item on the valve is a flow diverter which helped GM keep the spray of excess oil off of the rotating parts and down into the pan. That shield was not on the G8 valve originally but all of the 2010 and newer Camaro engines use it, so I included it.
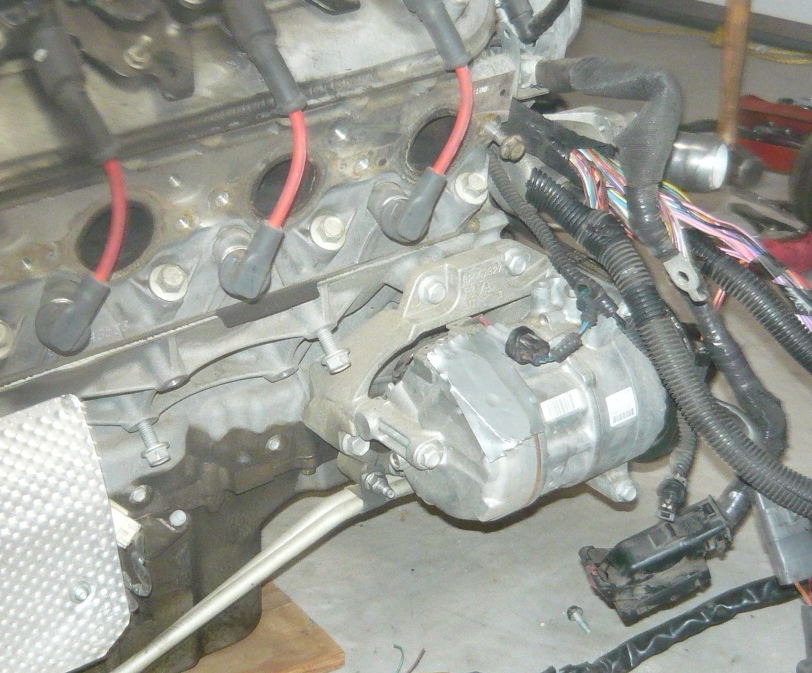
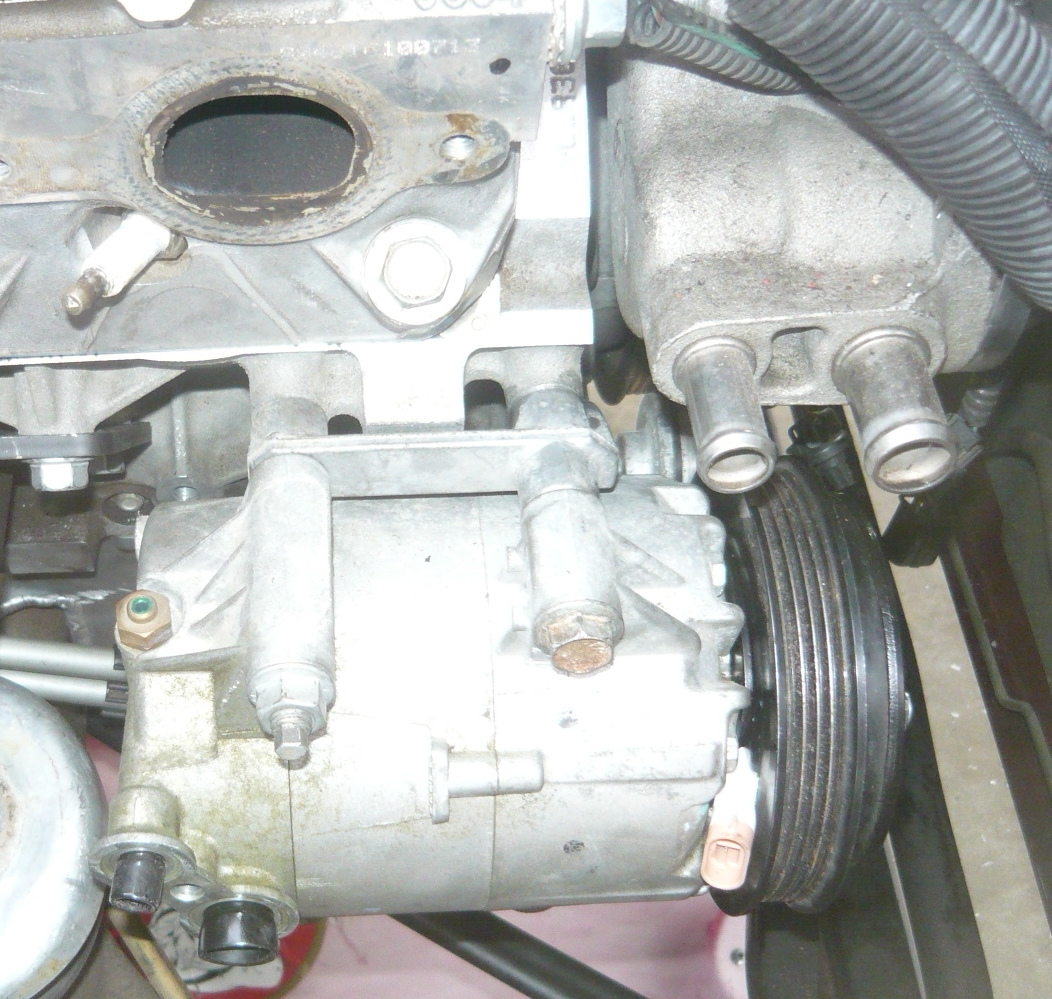
With the oil pan now on the engine one last issue needed to be resolved. Because this is a front sump oil pan, the oil dipstick must be in the front, where the oil is, right?? Well as I mentioned in Part 1 of the series, one concern of this new drivetain was the late model front accessory drive that pulled the pieces rearward onto the block for better clearance in front. The alternator (low mount, driver side) was not problem but the AC compressor and its huge bracket on the lower right interfered with both the oil dipstick and likely our engine mount on that side. So what to do?? Hit the GM parts bin of course and as it turned out, another GM AC bracket and compressor style of the same general vintage could be used instead and gave the required clearance all around. Here are the before and after shots of the AC compressors and their respective mounting brackets installed on the block: G8 original on the left, the replacement unit on the right.
One last note on dipsticks. Interestingly, GM decided at some point to eliminate (or at least not install) transmission fluid level dipsticks on some 6L80E transmissions. Instead, there is a special horizontal plug in the rear of the case that allows the user, from under the car, with the engine running, to check fluid level (by removing the plug). As you can expect, it's not easy to got to, not to mention inconvenient. The transmission case does have a position for a traditional dipstick and tube, and several aftermarket companies offer traditional transmission dipstick sets for the 6L80E. Needless to say, I installed one. That's it for this update. In the next installment we'll drop the package into the car and see how everything fits
Want an LS-powered Jaguar for yourself??
Click the links below to Jaguar-LS conversion information on our website and a also photos of many different completed cars, most by our customers:
Gallery of completed LS-power Jags: http://www.jaguarspecialties.com/LS-gallery.asp
|