Telephone: 408-839-5569
Email: (Click Here) Andrew@JaguarSpecialties.com
Last Update 7-2-24
|
Free flowing......exhaust I mean....
Part 5 - Exhaust System....... Go on to Part 6 - Driveline and Shifter (Click Here)
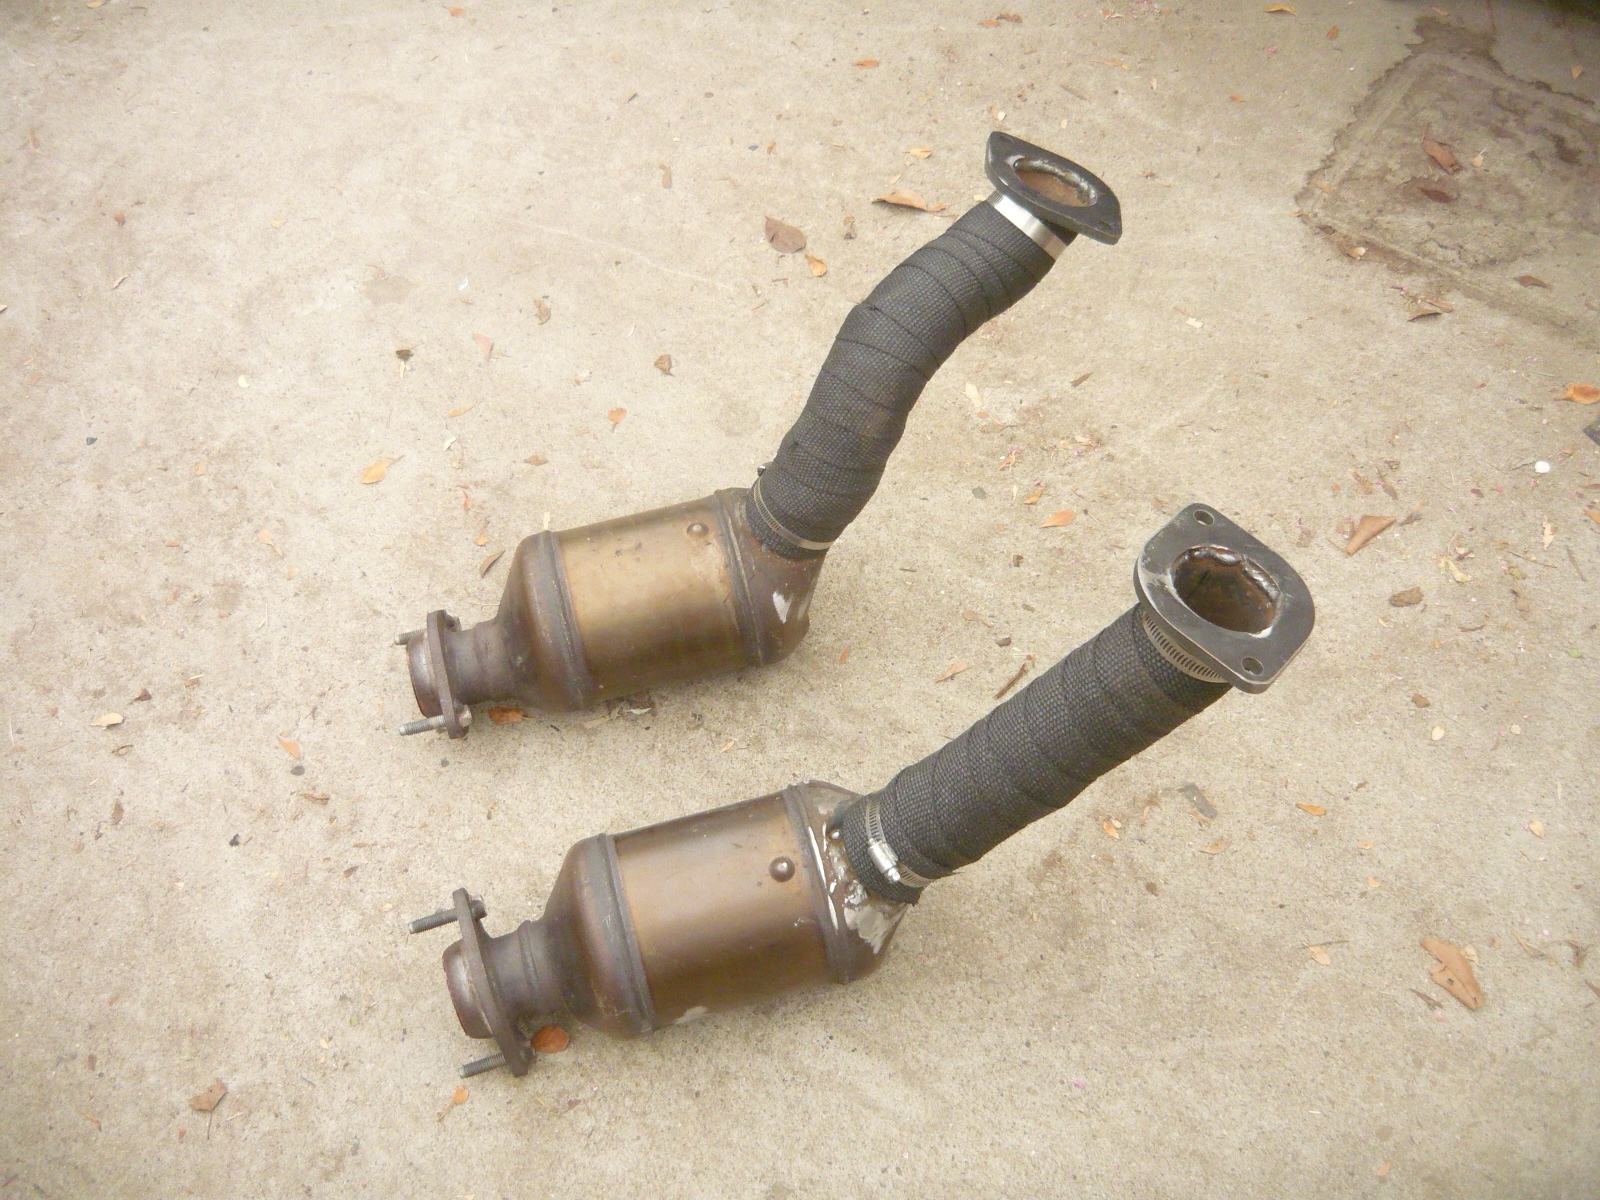
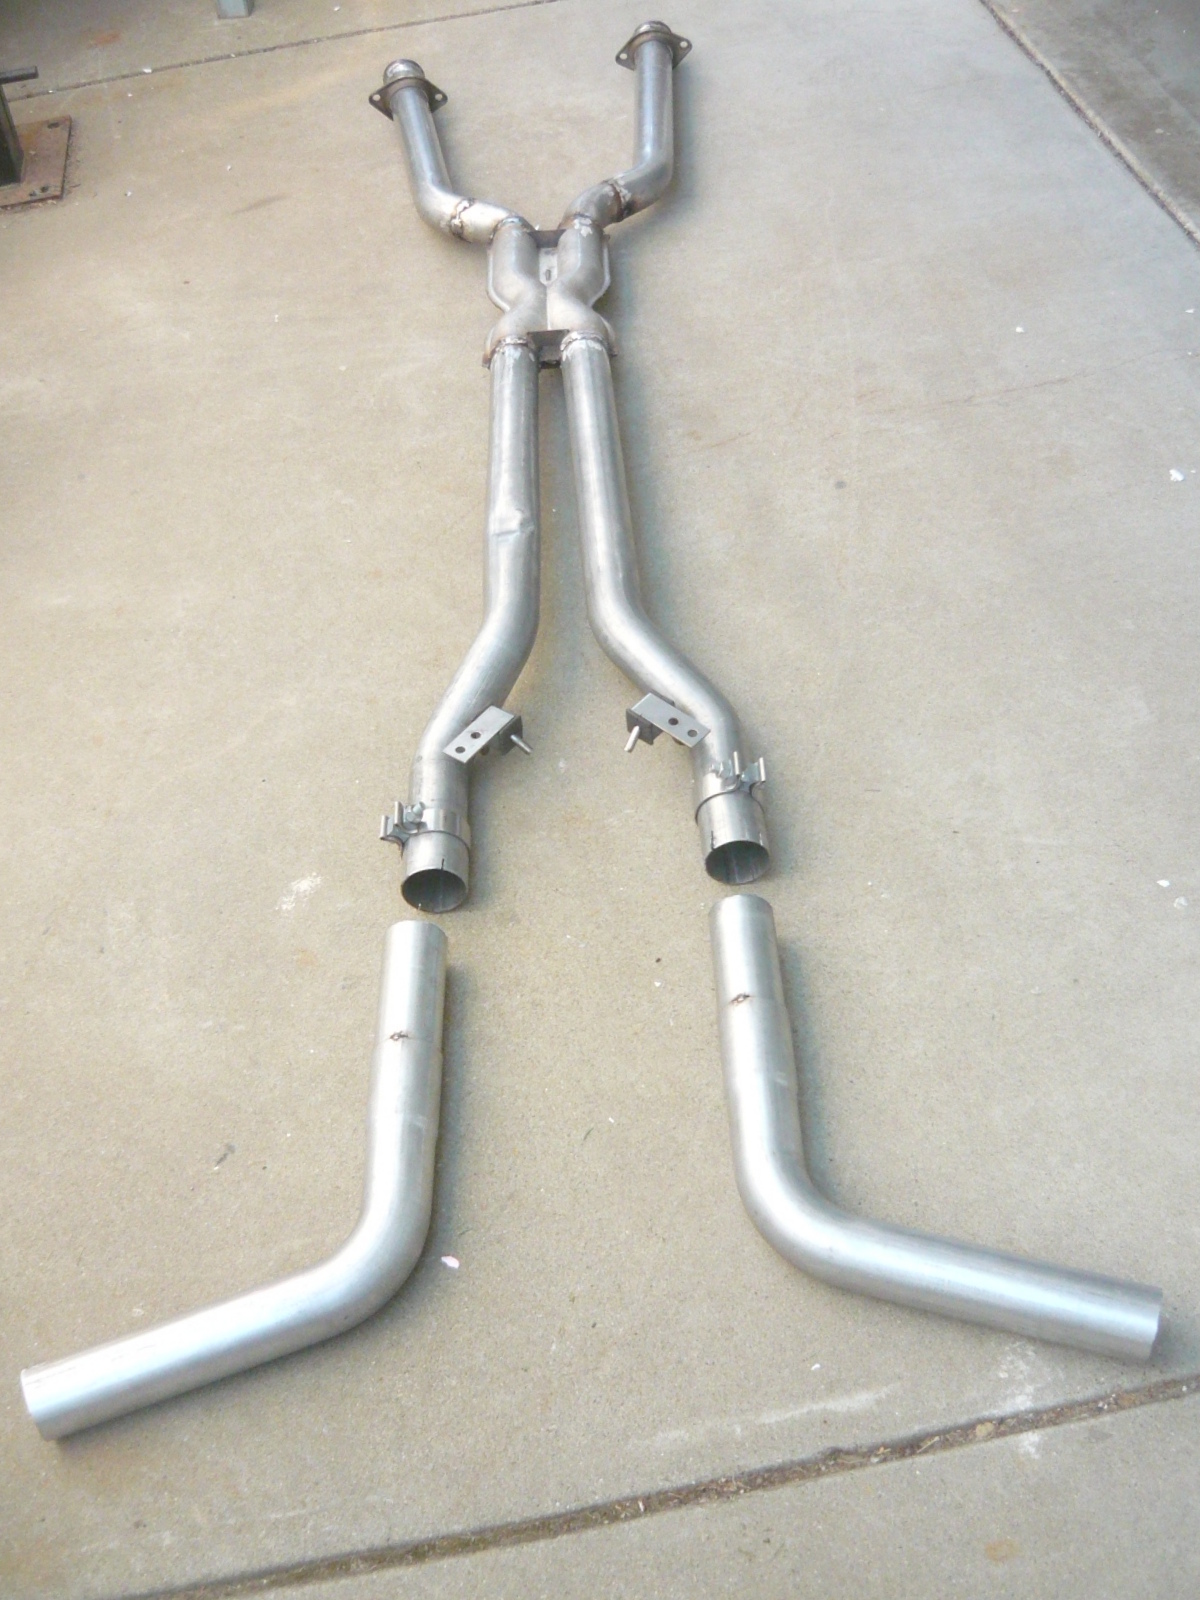
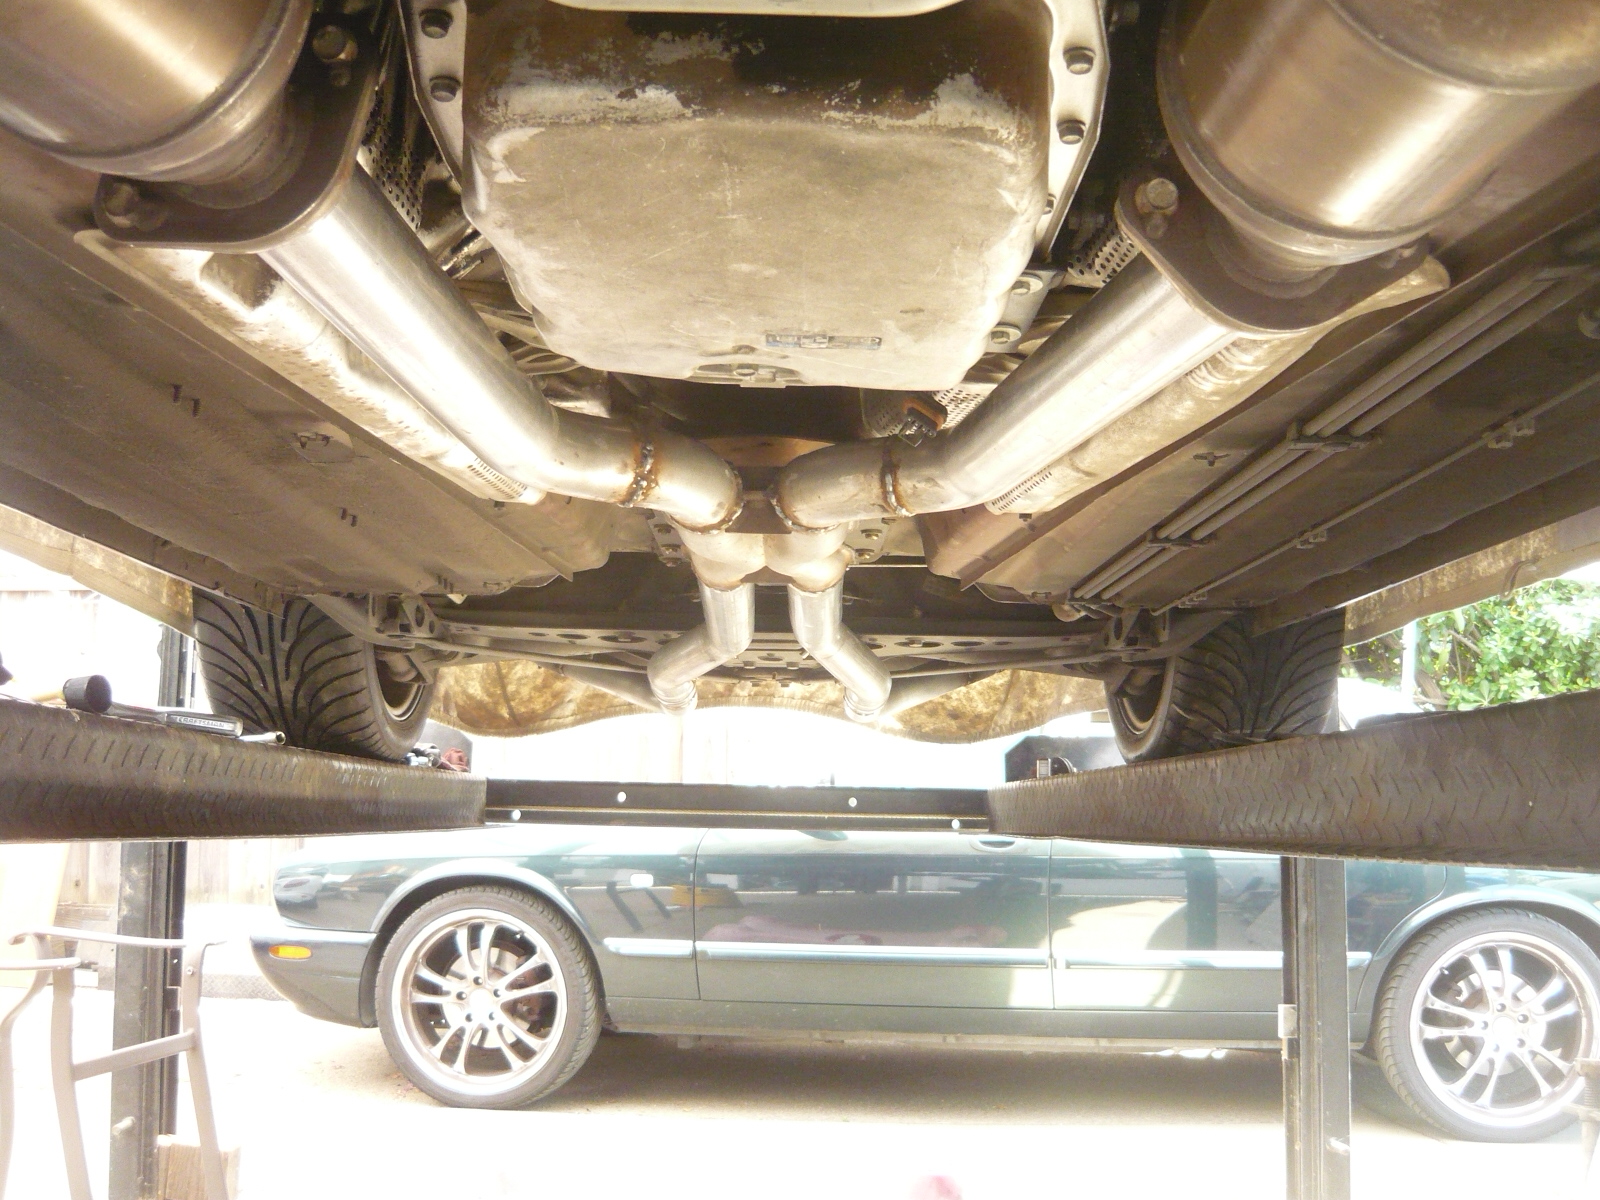
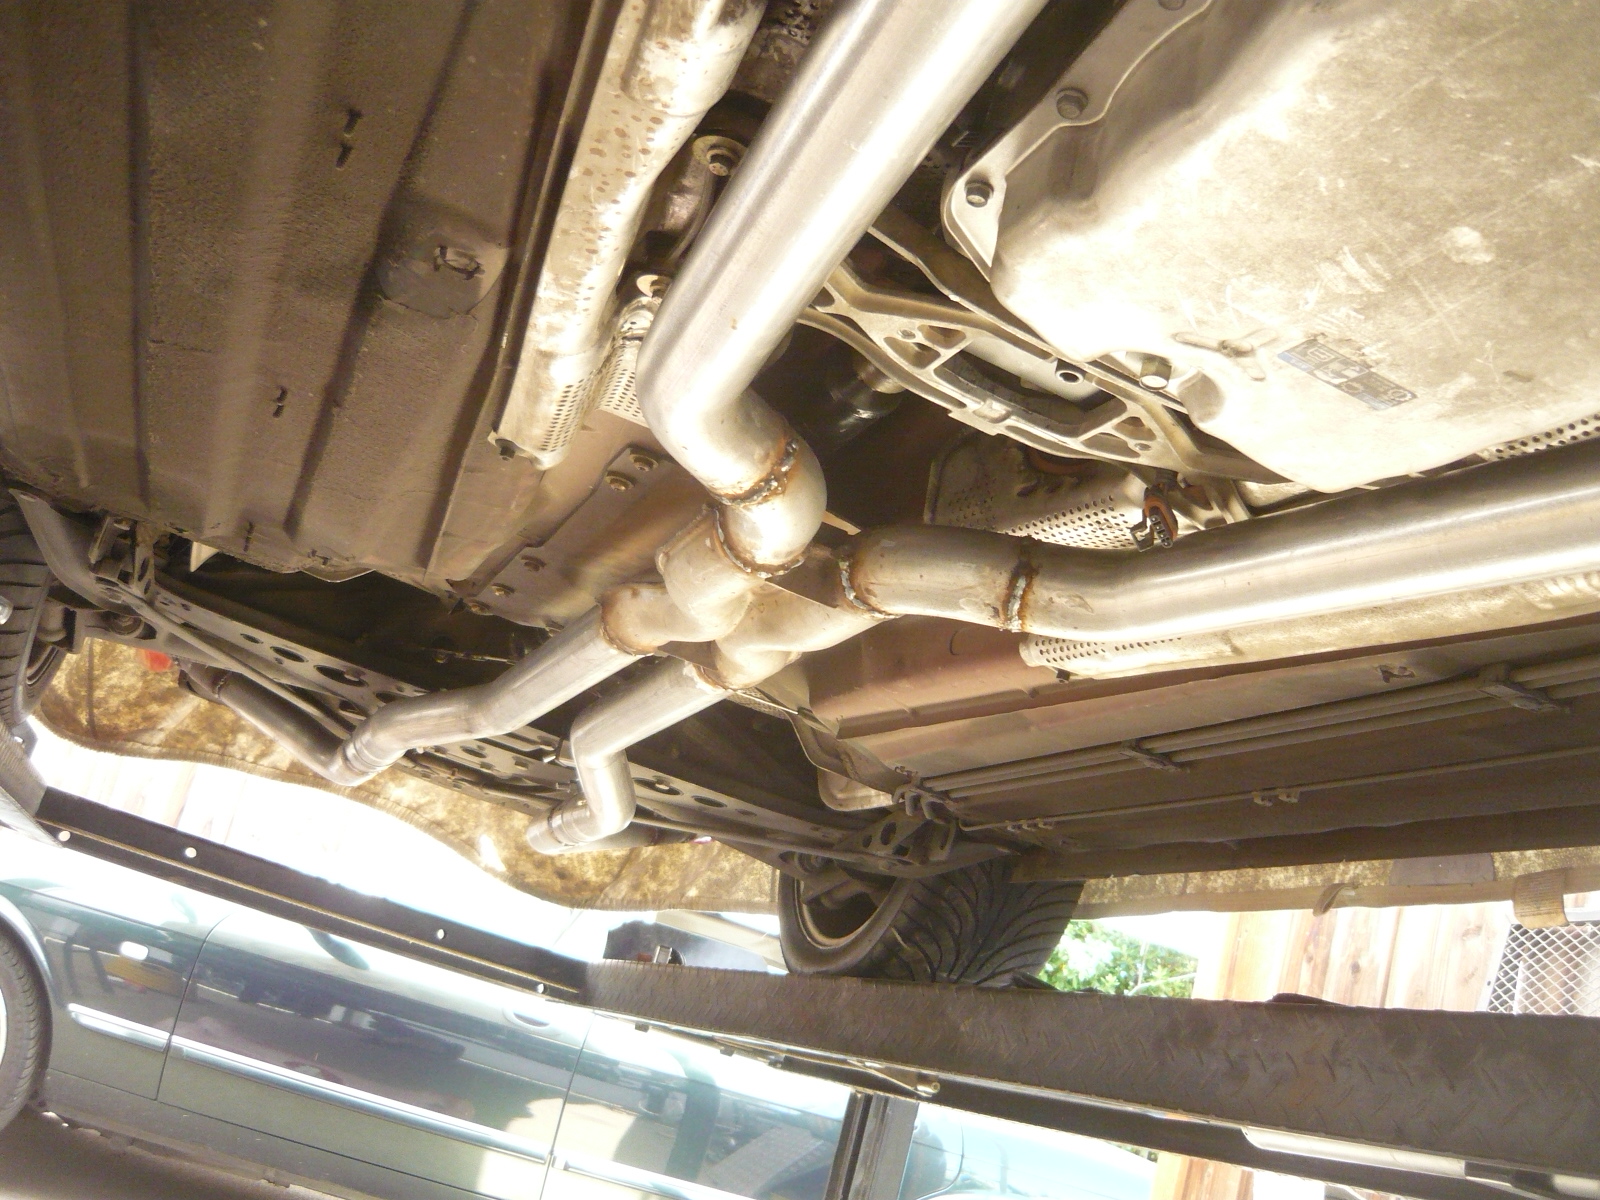
(This is the fifth in a series of articles on installing the later Gen4 LS engine packages in our Jaguar cars. Check back from time to time for an update) In the exhaust department, the plan was very similar to the other XK8-LS cars we’ve done. Because this car will go through California emissions, the stock G8 catalytic converters (cats) will be use along with the stock upstream and down stream oxygen (O2) sensors. Beyond the rear O2 sensors, the format of the exhaust is pretty much flexible. In this case the plan was to come out of the cats, back into a stamped X-pipe, and then rearward, under (not through) the center of the rear suspension, and then left and right to the stock exit locations. The piping will all be mandrel bent 2 ˝” diameter. We used to have muffler shops do our exhaust work, but with kits like the Flowmaster 2 ˝” mandrel bent piping kit, the exhaust system can easily be built in house. The Flowmaster kit (about $250 from Amazon) includes a collection of different mandrel bent and straight sections that can be used like exhaust Lego to make up a system. Several of the sections also have slightly flared ends so that mating pieces slip inside of one another and then welded for a strong joint. The fact that our exhaust here will go under the suspension means the system is fairly flat, so complicated bends are not required. Starting at the front, we come down from the standard GM exhaust manifolds. Only the driver side headpipe is (slightly) tricky part of this system. That piece is made from a 2 ˝” U-bend section, cut apart and welded together to snake around the steering shaft. The passenger side headpipe comes straight down from the manifold. Both headpipes drop to bellhousing level, go into the cats, and then run straight back to the X-pipe which is positioned roughly under the tail housing of the transmission. This brings the pipes up higher and closer to the body for better ground clearance. From there the pipes go rearward, each with a slight jog downward as they flare left and right a bit going under the rear suspension. Just past the suspension the pipes each outboard going left or right and then rising past the rear wheels make another turn to the rear to exit through some resonators placed back there. The resonators exit in the stock locations with some subtle stainless exhaust tips. One thing you may be wondering is where are the main mufflers?? The original Jag XK8 exhaust had 5 (!!!) mufflers in addition to the factory cats. It was very quiet for sure but not great for flow. What you don’t see on this exhaust is actual full size turbo type mufflers. On the XK8 manual trans car we built a few years ago the exhaust was structured just like this but with 2 turbo mufflers mounted just ahead of the rear axle. With that setup, the car was way too quiet- you almost could hear the AC compressor turning. What we found is the GM cats up front, together with the X-pipe were damping out a huge amount of exhaust noise, and to test that theory, we removed the turbo mufflers altogether. The resulting exhaust note was definitely louder, but not really more than a Harley going past. Since we wanted something just a bit quieter, small resonators were added back at the rear of the car and the exhaust note was then just right. That same approach was used here as well. As you can see from the pics, the exhaust is ultimately 3 parts- the main front/middle section coming from the engine to just ahead of the rear suspension and then the 2 rear tailpipes left and right.. Everything is suspended with urethane hangers which are durable but also compliant for vibration. Looking at the car from the sides or back doesn’t tip you off that anything isn’t original except for the slightly larger than normal exhaust tips. What’s really nice about this system is that any end user with a chop saw and a welder can duplicate this in a home shop with the same results. It takes a little time but hey, what doesn’t?? Below are some of the exhaust in process and then finally installed
That's it for this update. In the next installment we'll start looking at the driveshaft and shifter Want an LS-powered Jaguar for yourself?? Click the links below to Jaguar-LS conversion information on our website and a also photos of many different completed cars, most by our customers:
Gallery of completed LS-power Jags: http://www.jaguarspecialties.com/LS-gallery.asp
|